Friday, 31 October 2014

Halloween Treats: Spider cupcakes | Andrea Martin

Hello Everybody!
Welcome to day 5 and my last Halloween blogpost.

Day 5: Halloween treats: Spider cupcakes!

Today is my last blogpost of the Halloween week and I thought that I would finish it off by giving you my recipe for spider cupcakes. Enjoy!

Ingredients:

~Cupcakes~

175g butter
165g caster sugar
3 eggs
40g cocoa powder
self raising flour
1 tsp baking powder

~Frosting~

100g butter
200g icing sugar

~To Decorate~

1 pack or oreos
Strawberry laces/Cola laces
Smarties
Chocolate sprinkles

Method:

1.Start by switching your oven on to 180 degrees Celsius and putting cupcake cases into       your cupcake tins. 
2.Next, whisk together your butter and sugar until the mixture is creamy and smooth.
3. Now crack in your eggs and whisk them into the butter and sugar.
4.Then you need to fold in all of your dry ingredients (cocoa powder, flour and baking powder).
5.Next, spoon your mixture into your cupcake cases and aim to fill the cases almost to the top.
6.Now pop them in the oven for 14-17 minutes.


Whilst your cupcakes are in the oven your going to want to make the frosting.All you need to do is mix together the butter and the icing sugar to make a smooth butter cream frosting.

Once your cupcakes have cooled down you can spoon a thin layer of frosting onto the cupcakes.Your then going to want to completely cover the frosting in chocolate sprinkles. Next, you cut 6 equal sized pieces of strawberry laces for each cupcake and stick three either side. This will make the legs for the spiders. Next, you need to cover one side of the oreo in icing and tick that side down on top of the sprinkles, this is the body for the spider. Finally you will need to put 2 small blobs of icing on the oreo and stick smarties on top of them to create the eyes. 

YAYYYYYYYY! 
You have now created your tasty Halloween cupcakes.

Thank you so much for reading my last Halloween blospost and I hope you enjoyed it. My links to facebook, instagram and twitter are down below. HAPPY HALLOWEEN!!!

Toodles - Andrea xo.

Spooky Halloween Make-up - http://itisjustablog.blogspot.ie/2014/10/spooky-halloween-make-up-tutorial.html
Halloween costume idea: Dead schoolgirl - http://itisjustablog.blogspot.ie/2014/10/halloween-costume-dead-school-girl.html
Halloween hair: 3 quick and easy hairstyles - http://itisjustablog.blogspot.ie/2014/10/halloween-hair-3-quick-and-easy-styles.html
Last minute Halloween costume: Cat costume, hair and make-up - http://itisjustablog.blogspot.ie/2014/10/last-minute-halloween-costume-cat.html

Where else to find me:
Instagram: justablogx
Twitter: AndreaMartin3

Thursday, 30 October 2014

Last Minute Halloween Costume: Cat costume, Hair and Makeup | Andrea Martin

Hello Everybody!
Welcome to day 4 of my Halloween blogposts.

Day 4: Last minute Halloween costume: Cat costume, hair and make-up.

If you are running really far behind and you still haven't got a Halloween costume then this is definitely the costume for you. Today I will be showing you the make-up, hair and outfit that most resembles a cat costume for Halloween :) Enjoy!

Make-up: For the make-up you are going to want to apply foundation,concealer and powder as a base. I used the Rimmel - 25 Hour lasting nude foundation in Ivory, the Rimmel - Wake me up concealer in the shade Ivory and the Miss Sporty - So matte perfect powder in 01 Light.

Next you will want to move onto the eyeshadow. For this look you will need a white/light pink eyeshadow, a grey and a black eyeshadow because this is quite a dark, smokey eye. I used the colours virgin (white/light pink), gunmetal (silver) and creep (black)  from the Naked 1 palette.

1. First of all I put virgin all over my eyelid, up into the crease and under my eye as close to the lower lash line as possible.
2. I then took gunmetal in the same places apart from under the eye and on the inner corner of my lid. 3. Finally I took creep into the crease of my eye and blended for about 1 minute.

Your then going to want to put a thick line of liquid eyeliner along your upper lash line and using a black pencil eyeliner your going to want to out a line along your waterline, making sure you go all the way into the inner corner connecting with the upper lash line.

The final touch to the eye's is mascara and I just curled my eyelashes and put on mascara. I used the Mua make-up academy - Lash boom mascara in the colour black.

At this point your eyes should look a little something like this!


The next step is the facial features. Your first going to want to take your liquid eyeliner and draw a heart shape on your nose. Your then going to draw three lines coming out of your nose each side. From the heart shape on your nose you are going to want to draw a line all the way down through your cupid's bow to meet the centre point of your lip. I then outlined my lips using my pencil eyeliner but if your confident enough you can continue to use your liquid eyeliner. It will then look something like this:


My next and final addition to the facial features is three little dots. I did three either side of the line from my nose to my mouth and three on the tops of the apples of my cheeks. This turned out looking like this:


Finally you will want to add red or pink lipstick and blend in using a lip brush or your finger. I then went over the black outline with a my liquid eyeliner to give it a more defined shape.

This is the end of your make-up look!

You are now going to want to move onto hair and this couldn't be easier. I simply pulled all of my hair up inot a high ponytail and that is it, Obviously if you have cat ears which you can buy in most stores (e.g. River Island) then thhis would be a really nice touch, but unfortunately I didn't have any so I had to do without. This is the finished hair look:


And finally the outfit.
For this you will literally need to get as much black clothes as you can. I used a turtle neck crop top, leggins and converse and it looked really cool!


The whole costume together looked like this and I was really happy how it turned out! (sorry about the quality of the picure)


Thank you for reading and I hope that this post has inspired or helped you out in some way. If it has please leave a comment and subscribe to my blog! My facebook, instagram and twitter links are down below so be sure to check them out! Also this week on my blog I have done a blogpost everyday with the theme of Halloween so be sure to check those out aswell (links down below). I'll be back tomorrow with my final Halloween blogpost, so make sure you check it out!

Toodles - Andrea xo.

Day 1: Spooky Halloweeen make-up!
Day 3: Halloween hair: 3 quick and easy hairstyles! - http://itisjustablog.blogspot.ie/2014/10/halloween-hair-3-quick-and-easy-styles.html

Where else to find me:
- Instagram: justablogx
- Twitter: AndreaMartin3
- Facebook: facebook.com/itisjustablog (https://www.facebook.com/Itisjustablog)


Wednesday, 29 October 2014

Halloween Hair: 3 quick and easy styles | Andrea Martin

Hello Everybody!
Welcome to day 3 of my Halloween blogposts.

Day 3: 3 quick and easy Halloween hairstyles.

Since the previous two blogposts were Halloween make-up and costume related, I decided to give you 3 hairstyles that you could wear with my Halloween look or any of the standard Halloween costumes. Enjoy!

**For each of these hairstyles you will need to have some volume and texture in your hair, so I recommend either curling your hair and/or backcombing. For the full effect of each hairstyle you will want to wash your hair 2 days previous and again have some sort of texture and volume. If you don't want to backcomb you can buy volumising dry shampoo's in most pharmacists/drugstores.**

Hairstyle no.1:
The first hair style is simply just your hair curled or backcombed and left down. When I recreated this look I put some bobby pins in random places, pinning random pieces of hair back and it really added to the hairstyle. After you have completed these steps your hair will end up looking a little something like this:

Hairstyle no.1


Hairstyle no.2:
Hairstyle no.2 is just as simple, quick and easy. Instead of placing random bobby pins in your volumised hair you are going to want to take two hair ties. Firstly split your hair into two pieces, I recommend parting your hair straight down the middle but of course if you do not want to do it this way that is absolutely fine. I then just loosely tied each piece of hair and it ended up looking like this:

Hairstyle no.2

Hairstyle no.3:
Finally we are onto hairstyle no.3 and this look is definitely for people like me who don't like to have their hair down for a long time. Again with your  textured hair you are going to want to just roughly pull back all your hair to the back, making sure you still leave lots of volume on top and at the sides, tie the hair loosely and it will end up looking a little something like this.

Hairstyle no.3
If you have enjoyed reading this blogpost or it has helped you in any way then please leave a comment and subscribe! If you are wondering what costume and make-up I would match these hairstyles with check out my previous posts by clicking the links below.

Thank you so much for reading and I will be back tomorrow with a brand new Halloween blog!

Toodles - Andrea xo.


Spooky Halloween Make-up:Matching make-up
Dead School Girl, Halloween costume idea: Matching costume

Where else to find me:

Youtube: https://www.youtube.com/channel/UCEFvXLpxp6sCKBmihy1AAfg
Instagram: justablogx
Twitter: AndreaMartin3
Facebook: facebook.com/itisjustablog (https://www.facebook.com/Itisjustablog)

Tuesday, 28 October 2014

Halloween Costume: Dead School Girl | Andrea Martin

Hello Everybody!
Welcome to day 2 of my Halloween blogposts.

Day 2: Halloween Costume Idea!

If you are like me and you leave most things to the last minute well then you probably don't have a Halloween costume yet!Today I will be showing you how to achieve this quick and easy Halloween costume in which you can create in minutes!


For this look you will need:


1.Black tights or black knee high socks. I opted for tights as I think that socks would be too cold!


Tights


Socks


2.Any black top. I went for a turtle necked crop top as I think this looks really cool with this costume but if you don't have this top any black top you have will do!

Crop top
Turtle neck crop top


3. Any black skirt. I chose a mini pencil skirt but a black skater skirt would look just as good.

Skater skirt
Mini pencil skirt


4. An old shirt: This shirt can be any colour you want but the typical colour is white and so I chose a white shirt. I then began to cut the shirt in random places to give the old, worn effect.

Shirt


5. You will now need some fake blood or anything that looks the same. I just used a red marker. You will now need to drop the blood in random places all over the shirt.
Marker
Fake blood


6. I decided to go with these heeled patent boots as the shoes for this costume because it completes the whole look. You could also just wear some black ballerina pumps or flat boots.
Patent boots

Ballerina pumps


7.Finally you are going yo want to have a bag so I just used a shoulder bag that I use on a daily basis but a school bag would look equally as good.

Shoulder bag
Schoolbag


Thank you for reading this blogpost and I hope that it has helped you out in some way. If you would like to know what make-up I would wear with this costume then click on the link below!

Spooky Halloween Make-up Tutorial: Dead schoolgirl make-up!

Make sure you comment letting me know what you think and subscribe to my blog!

Toodles - Andrea xo.

Where else to find me:

Youtube - https://www.youtube.com/channel/UCEFvXLpxp6sCKBmihy1AAfg
Instagram - justablogx
Twitter - AndreaMartin3
Facebook - facebook.com/justablog

Monday, 27 October 2014

Spooky Halloween Makeup Tutorial | Andrea Martin

Hello Everybody!

If you have been following my blog recently you will know that I usually upload a post every Sunday but as it is the mid-term break and it's almost Halloween I have decided to upload every single day for the next 5 days using the theme of Halloween.

Day 1: Spooky Halloween Make-up!

Today I will be showing you how to achieve this make-up look in which you can recreate and use on Halloween night. Enjoy!

**BEFORE WE START I WOULD LIKE TO POINT OUT THAT I AM IN NO WAY A MAKE-UP ARTIST SO IF I DO SOMETHING THAT OFFENDS YOU OR IS NOT YOUR METHOD THAT IS OK BECAUSE WE ALL HAVE OUR OWN WAYS OF DOING THINGS!**

1. Apply primer: I used the Seventeen - photo flawless skin primer, paying special attention to the oilier areas of my face.
Photo flawless skin primer


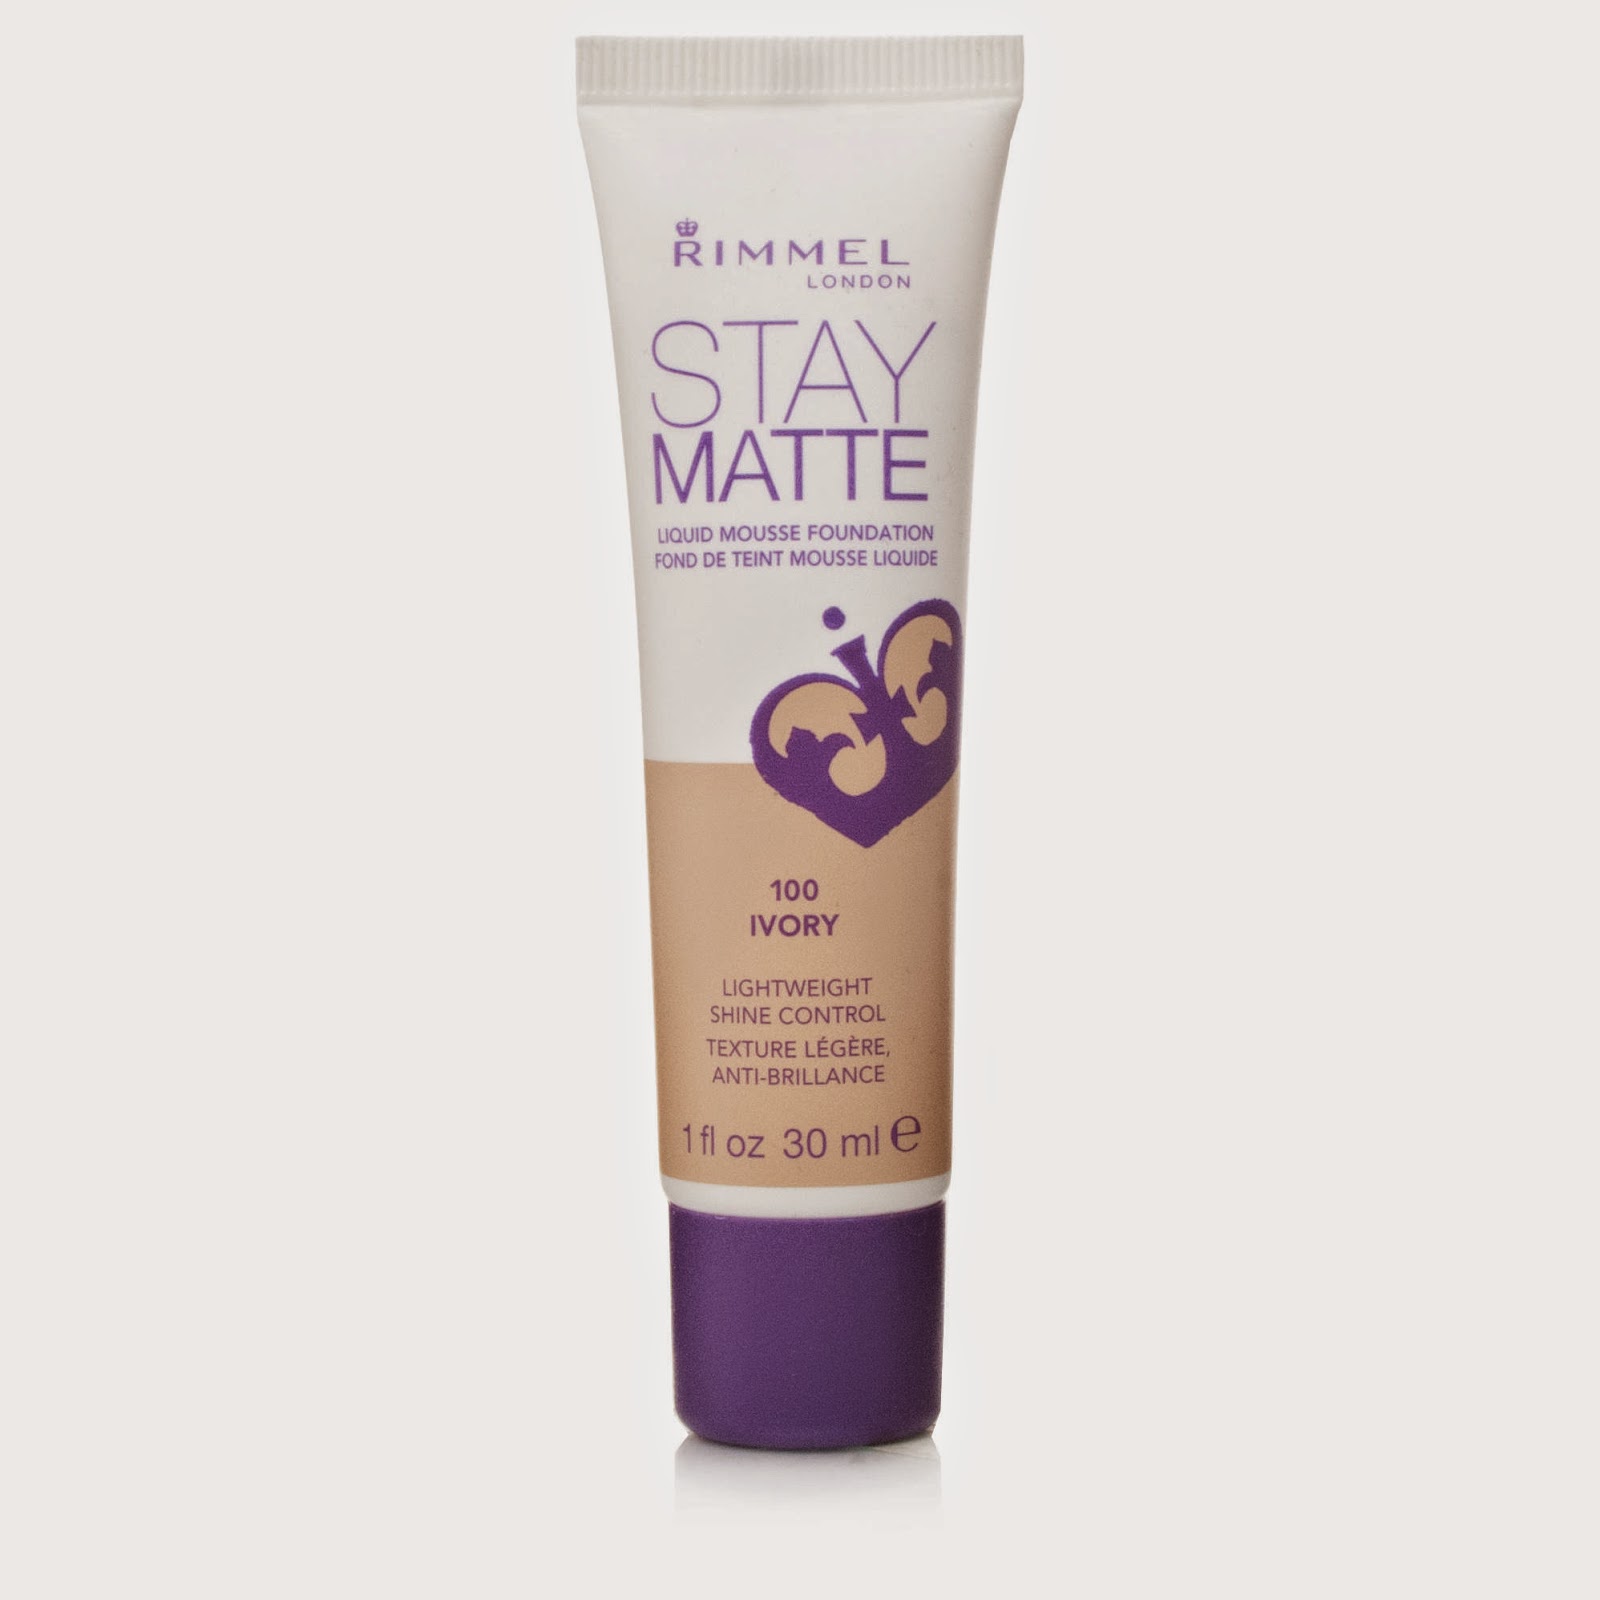
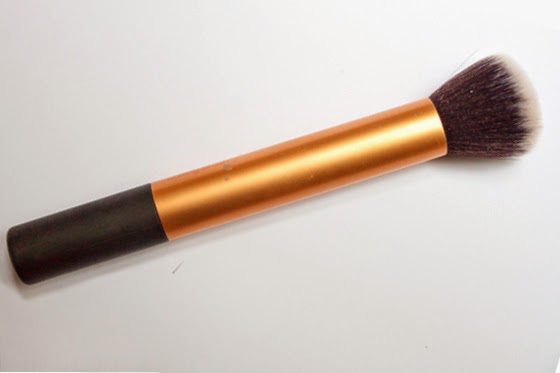
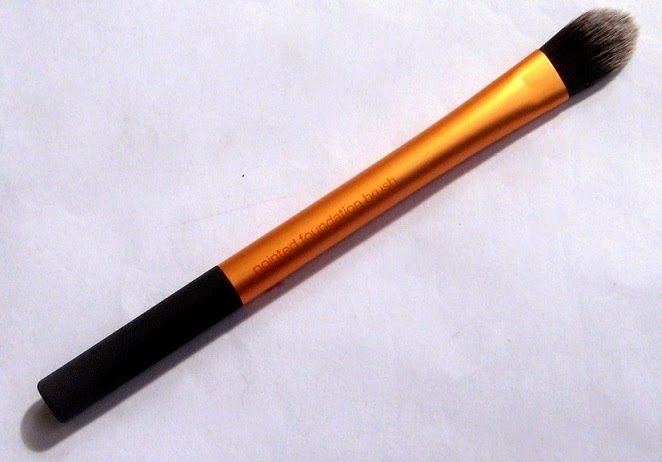
2.Apply foundation: I used a mixture of the Rimmel - 25 hour lasting nude foundation and the Rimmel - stay matte foundation both in the shade 100 ivory. I mixed these together using a real techniques pointed foundation brush and blended these in using a real techniques buffing brush. 
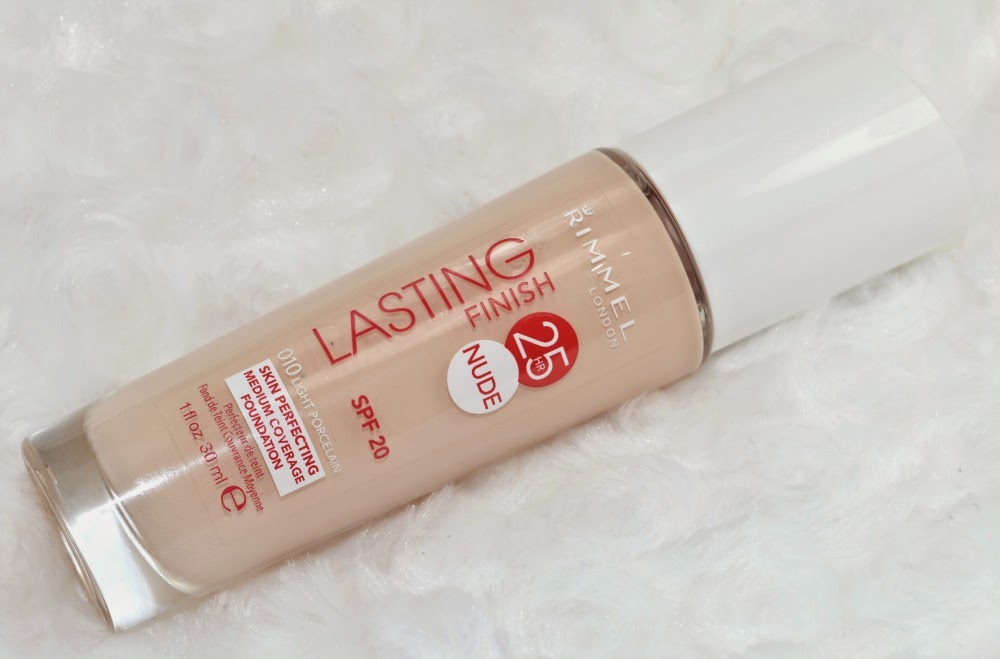

25 hour lasting nude foundation
Stay matte foundation


Buffing brush

Pointed foundation brush


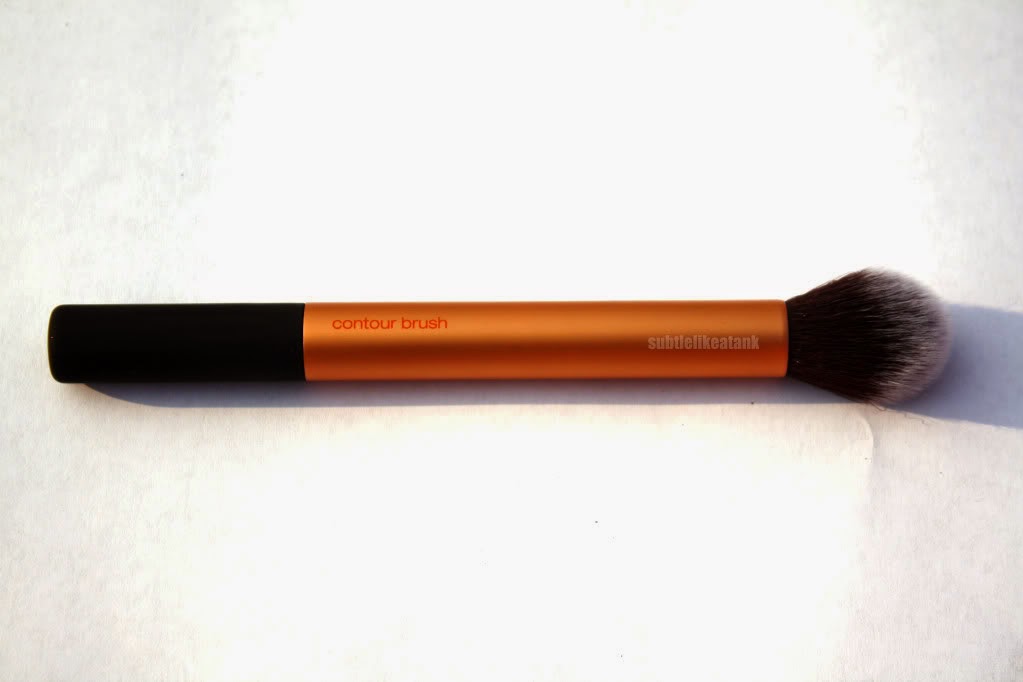
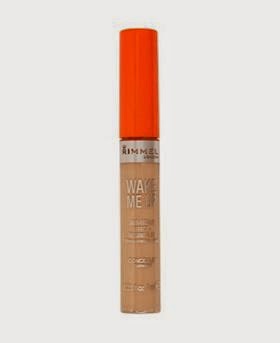
3.Apply concealer: I used the Rimmel - Wake me up concealer in the shade 100 ivory. I applied this under my eyes, around my nose and on any spots or blemishes that I had. I used the real techniques contour brush to blend it in under my eyes and a beauty blender to blend it in on my spots and blemishes.
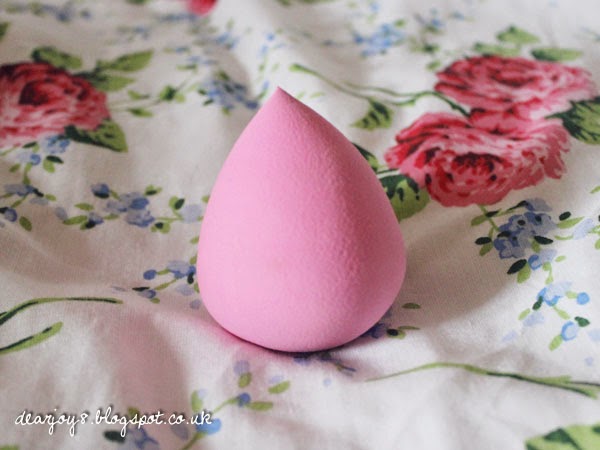
Beauty blender
Contour brush


Concealer


4.Apply powder: I used the Miss Sporty - so matte perfect stay powder in the shade 01 light. I applied this using a real techniques duo fibre face brush and payed special attention to my oilier areas again.


<< So matte perfect powder >> 
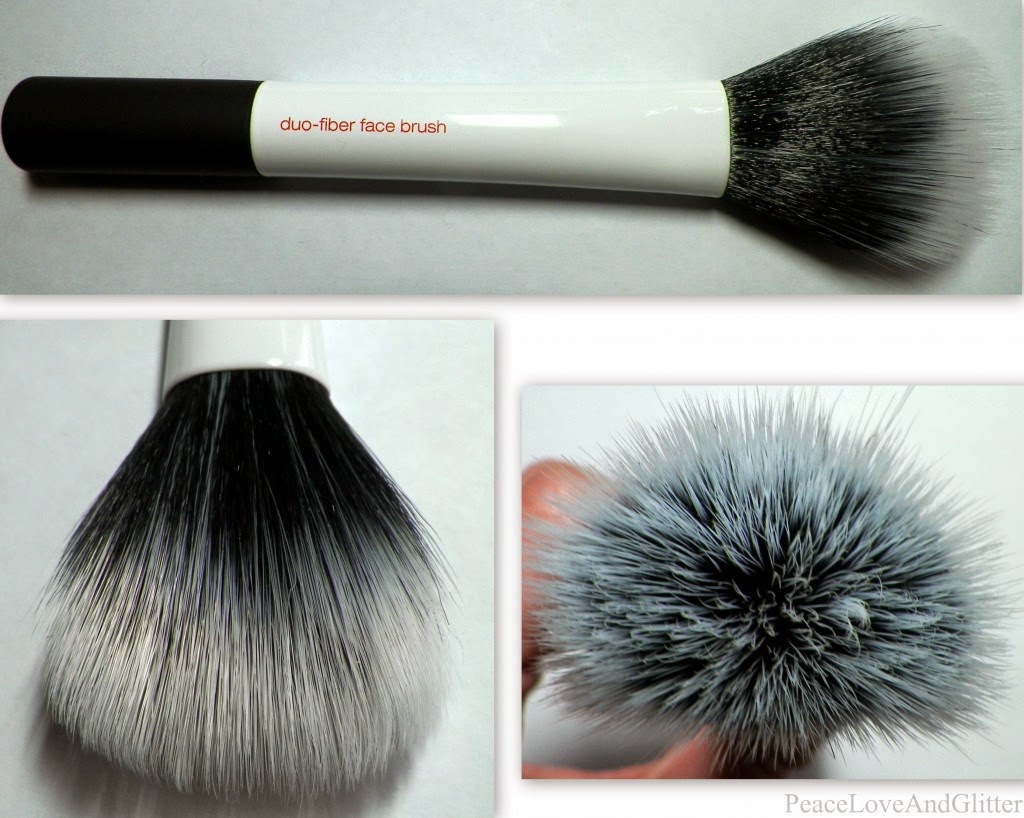


Duo fibre face brush


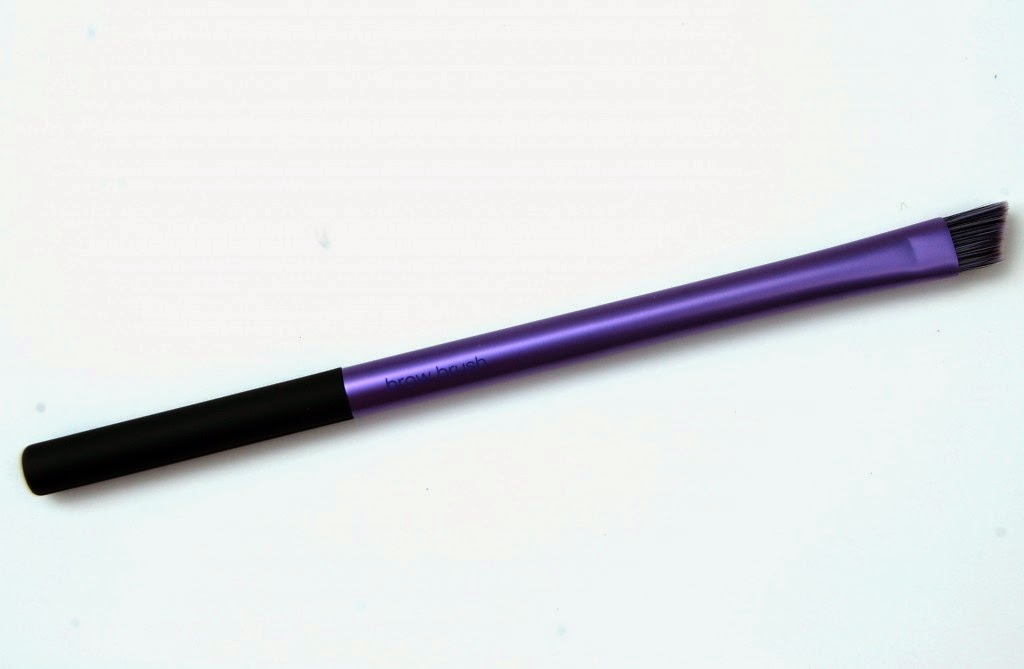
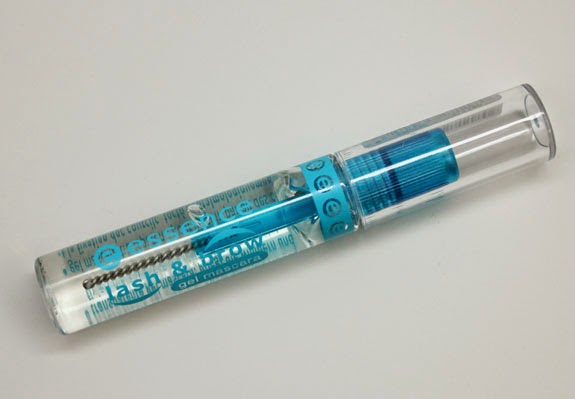
5.Eyebrows: I first brushed out my eyebrows using an eyebrow comb, I then filled them in using the Urban decay - naked 1 palette in the shade buck using a real techniques brow brush, and I finally set them in place using the Essence - lash and brow gel mascara.
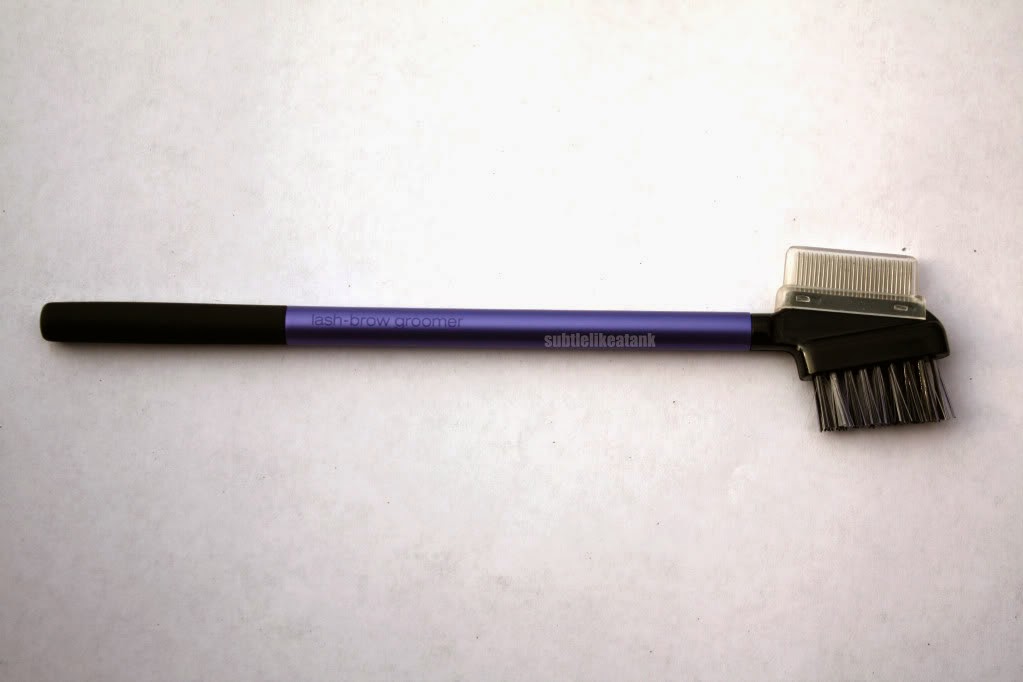
Lash and brow comb
Brow brush


Lash and brow gel mascara
Naked 1 palette


6.Eyeshadow: 1) Apply the Seventeen - metallic cream all over the lid of the eye and up into the crease using a real techniques base shadow brush.
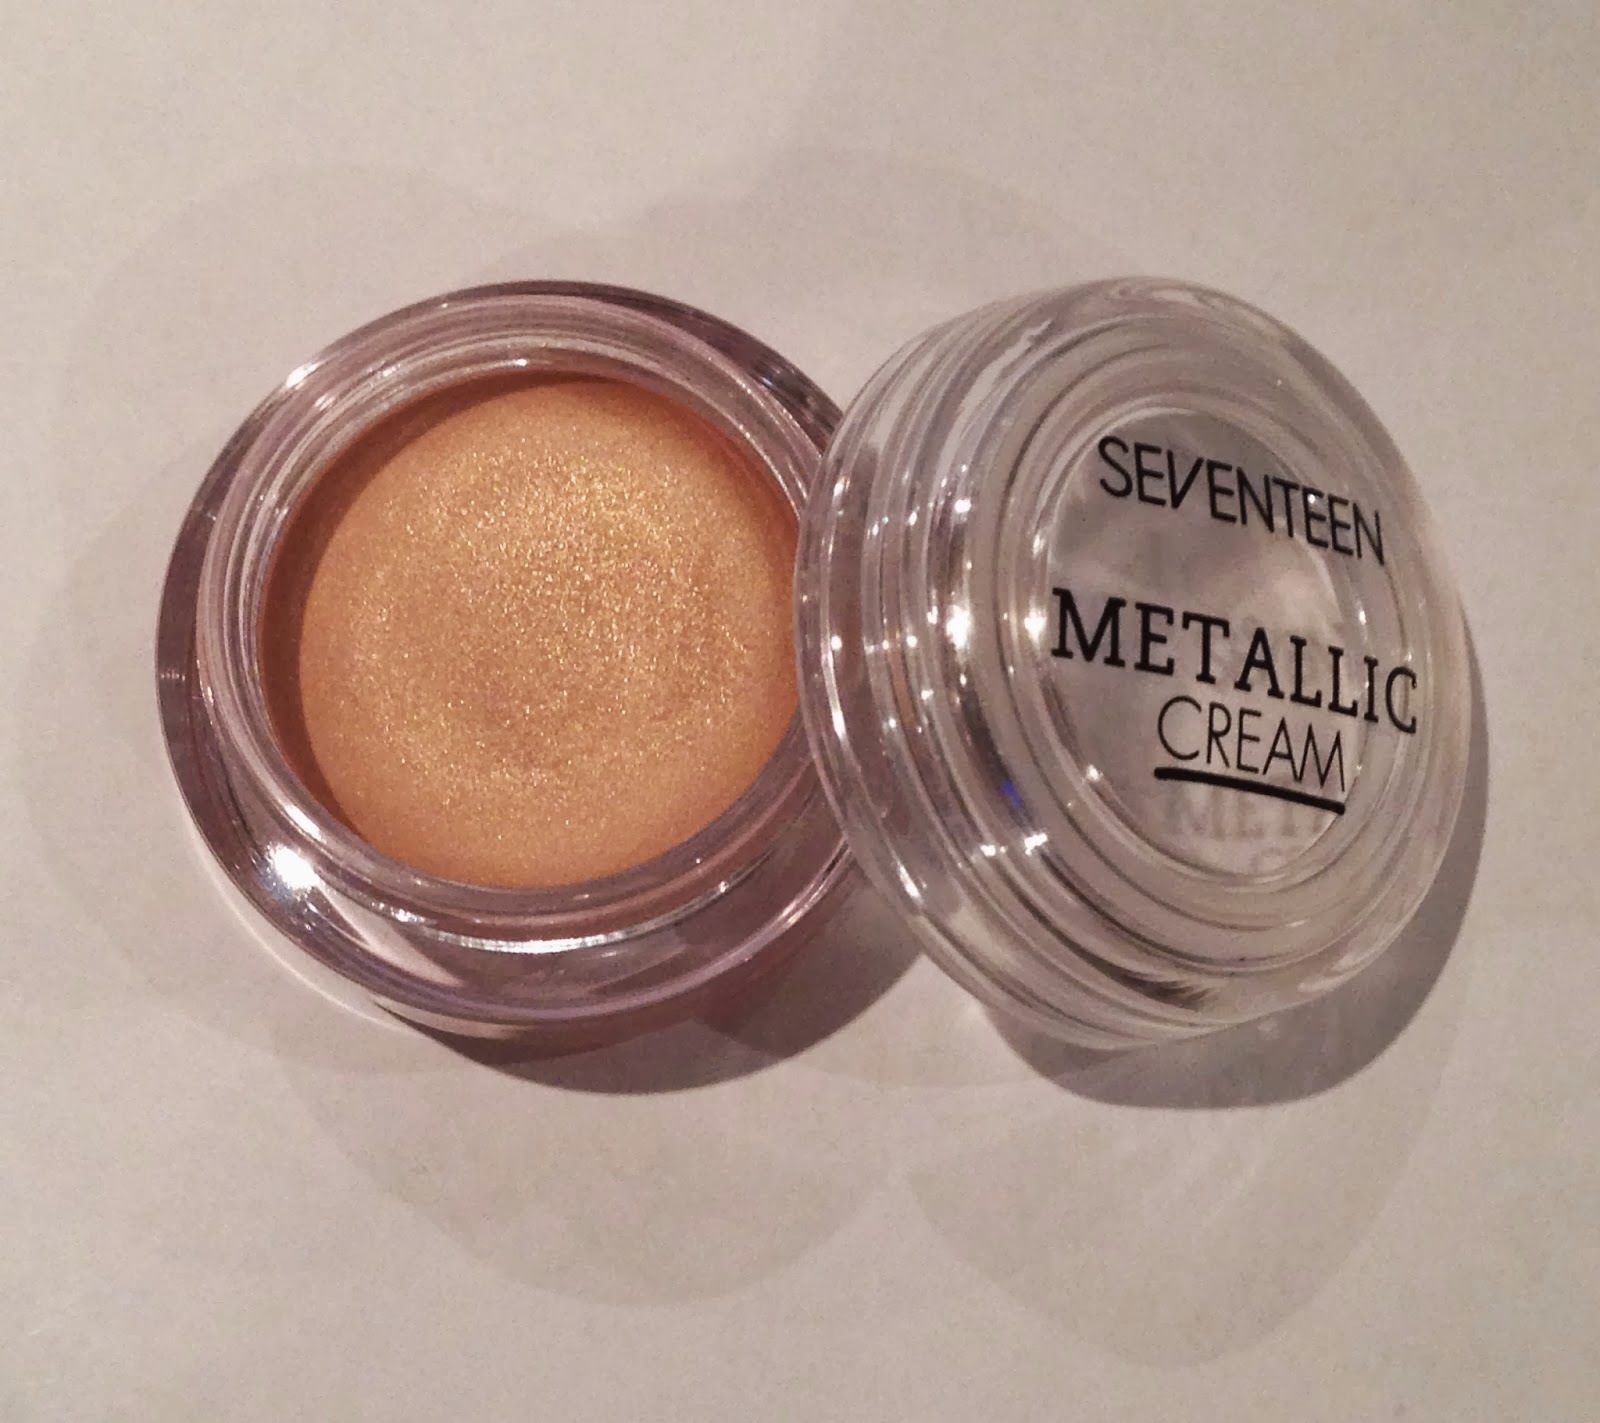
Metallic cream

Base shadow brush


2) Apply the shade Hustle from the Urban decay - naked 1 palette all over the lid and slightly up into the crease of the eye using the real techniques base shadow brush.
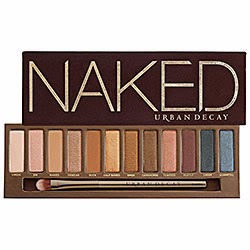
Naked 1 palette


Base shadow brush


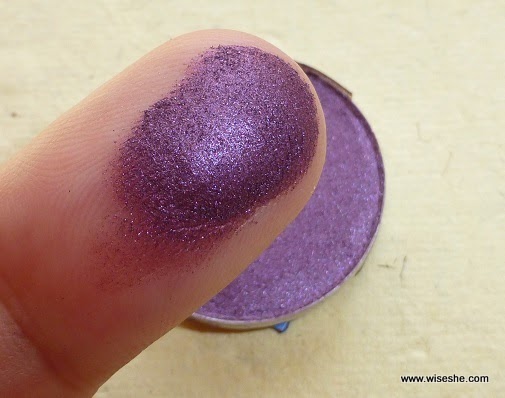
3) Apply any deep purple eyeshadow that you have all over the lid and up into the crease of the eye using the real techniques base shadow brush. I used the deep purple from my Fuschia Make-up palette which look alot like Mac - nocturnelle eyeshadow.
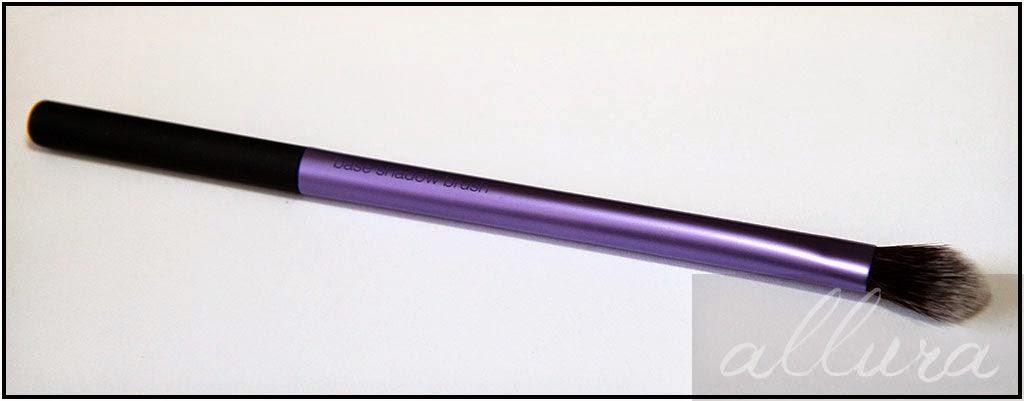
Base shadow brush
Nocturnelle


4) The next step is to apply the shade creep from the Urban Decay - Naked 1 palette all over the lid but making sure you don't go up into the crease because that will completely ruin the whole make-up look. I did this using a real techniques deluxe crease brush.
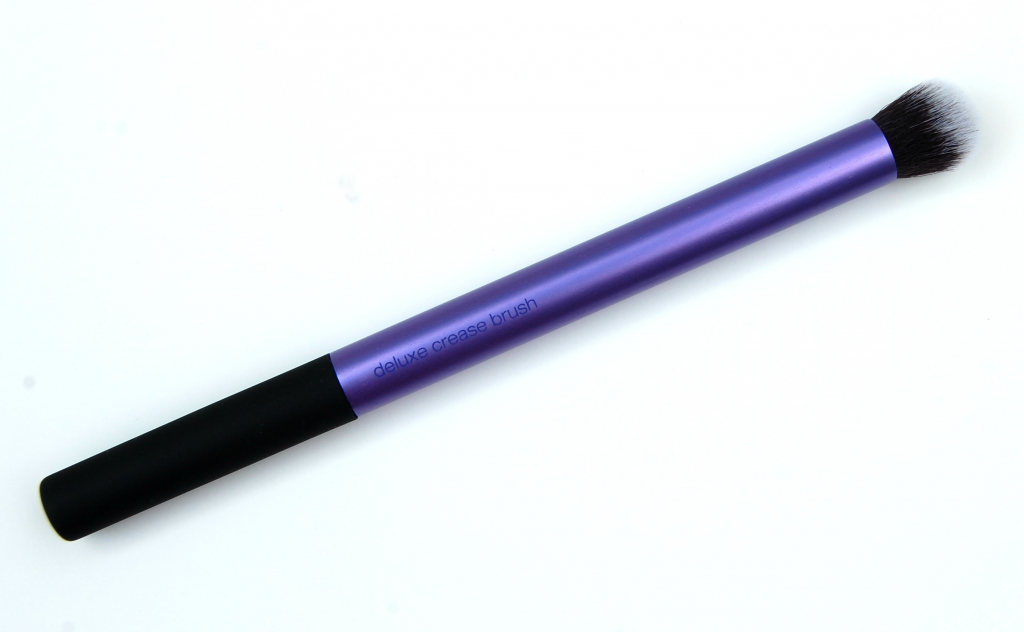
Deluxe crease brush

Naked 1 palette


5) Next you take the deep purple eyeshadow  again and apply it in the crease just to deepen the colour using the real techniques base shadow brush.
Base shadow 
Deep purple eyeshadow


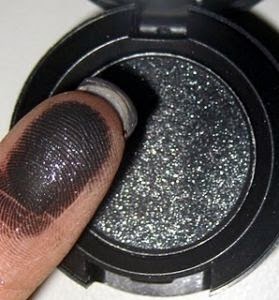
6)Finally I put a glittery black shade from my Fuschia make-up palette onto the outer corner of my eyelid's and this completed my eyeshadow. I put this on using a real techniques deluxe crease brush and the glittery black eyeshadow that I used is very similar to Mac - blacktied eyeshadow.
Deluxe crease brush

Blacktied eyeshadow


7.Apply eyeliner: For this look you will need a black pencil eyeliner. I used the Rimmel - soft kohl kajal eye pencil in the shade jetblack. For this look you will need to apply a line along your upper lash line all the way to the inner corner and all the way to the outer corner but make sure that you don't flick it at the end. You then want to apply 1-2 layers of eyeliner along your lower waterline ensuring you connect the inner corner of the top line and the outer corner of the top line. This will give the eyes a spooky and dark effect.
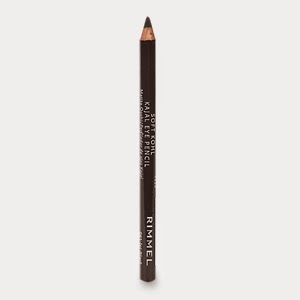
Soft kohl kajal eye pencil


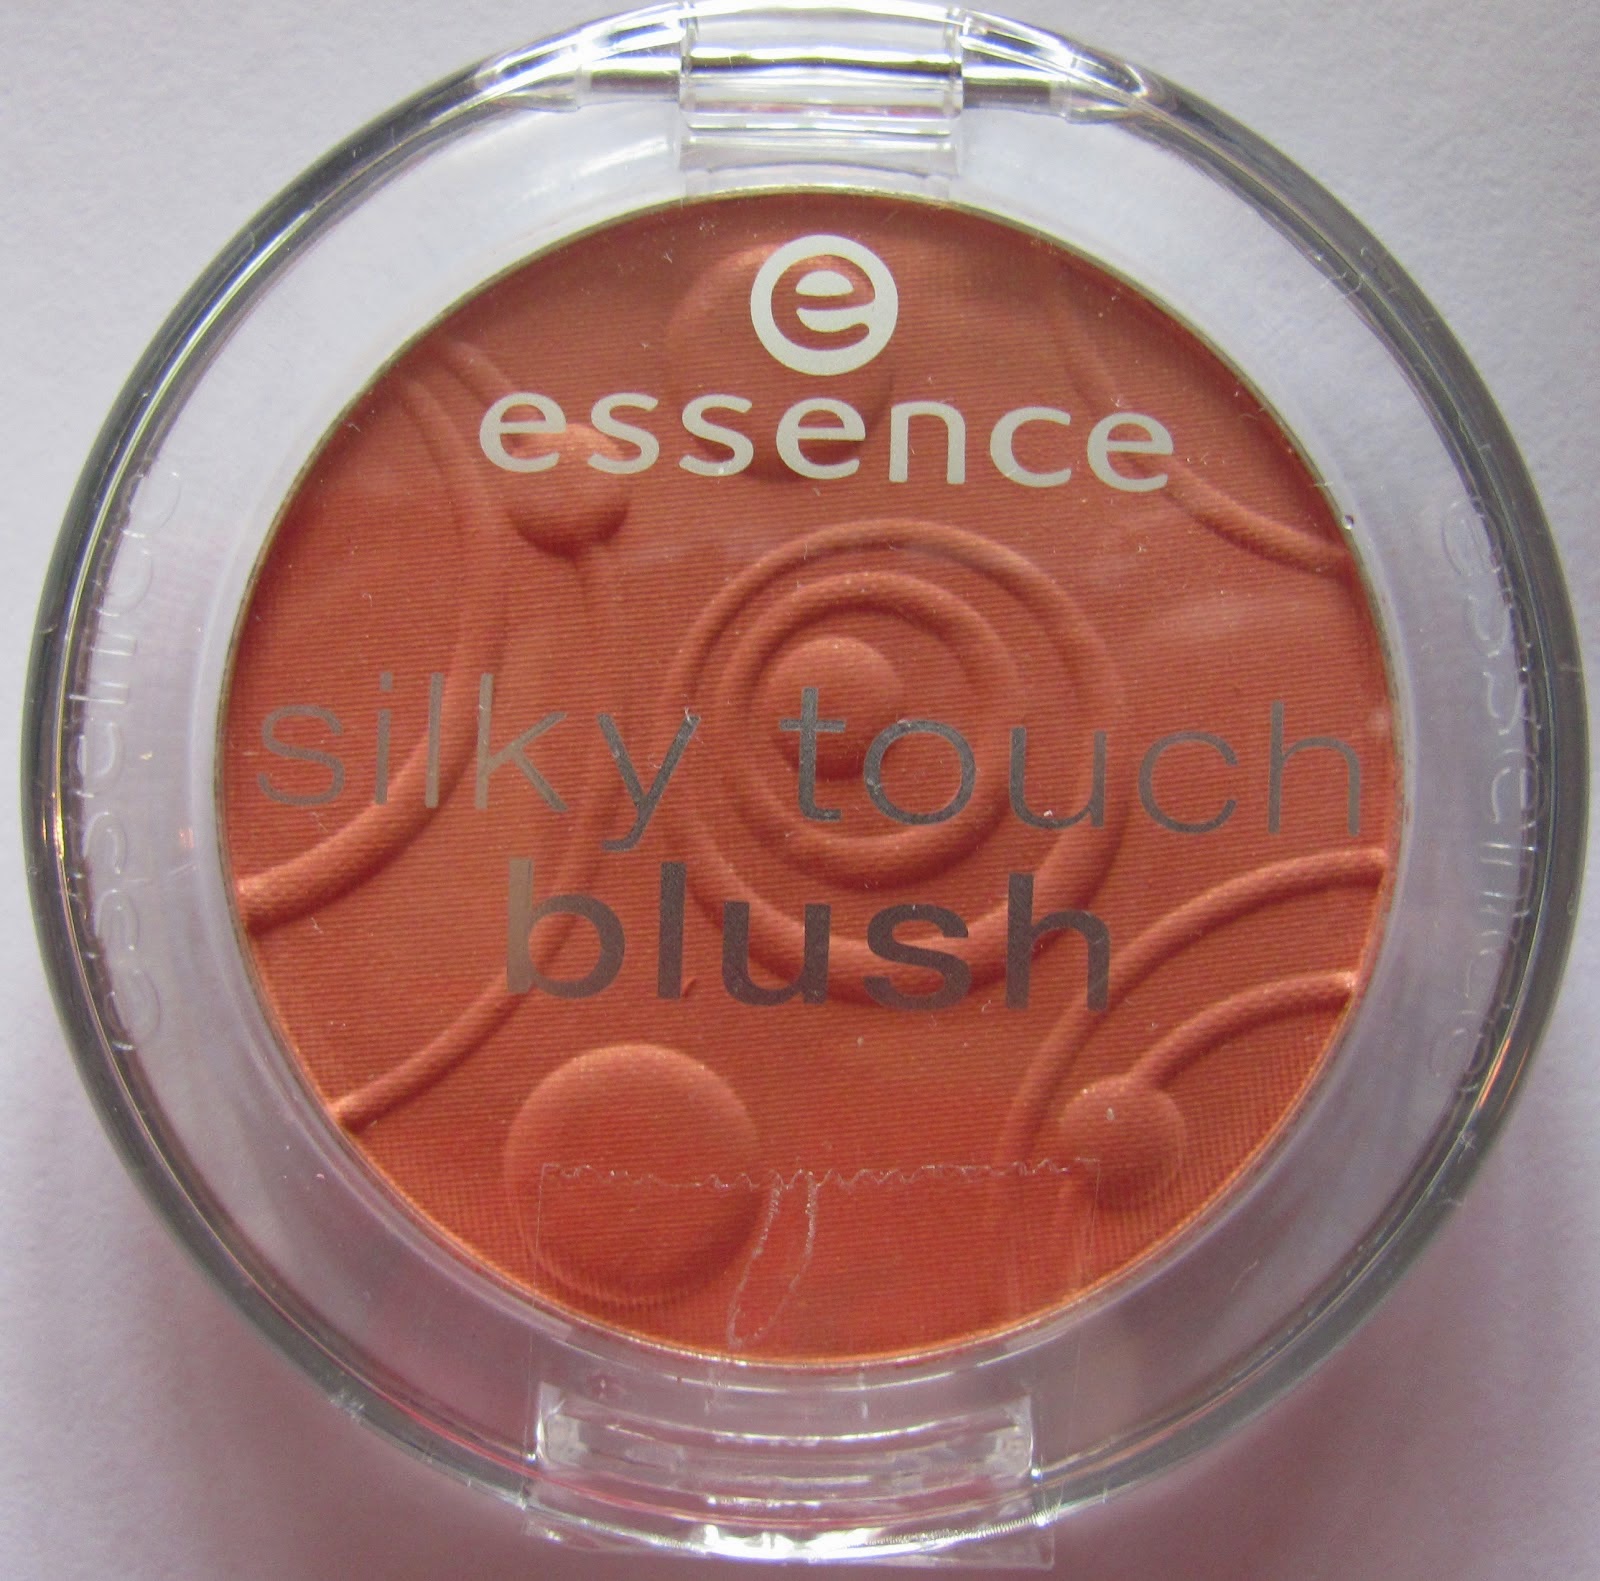
8.Apply blusher: I used the Essence - silky touch blush in the shade 30 secret it girl. I used this blusher because it is a nice peachy-pink colour which works really well with this look. I applied the blusher on the apples of my cheeks, using the real techniques blusher brush.
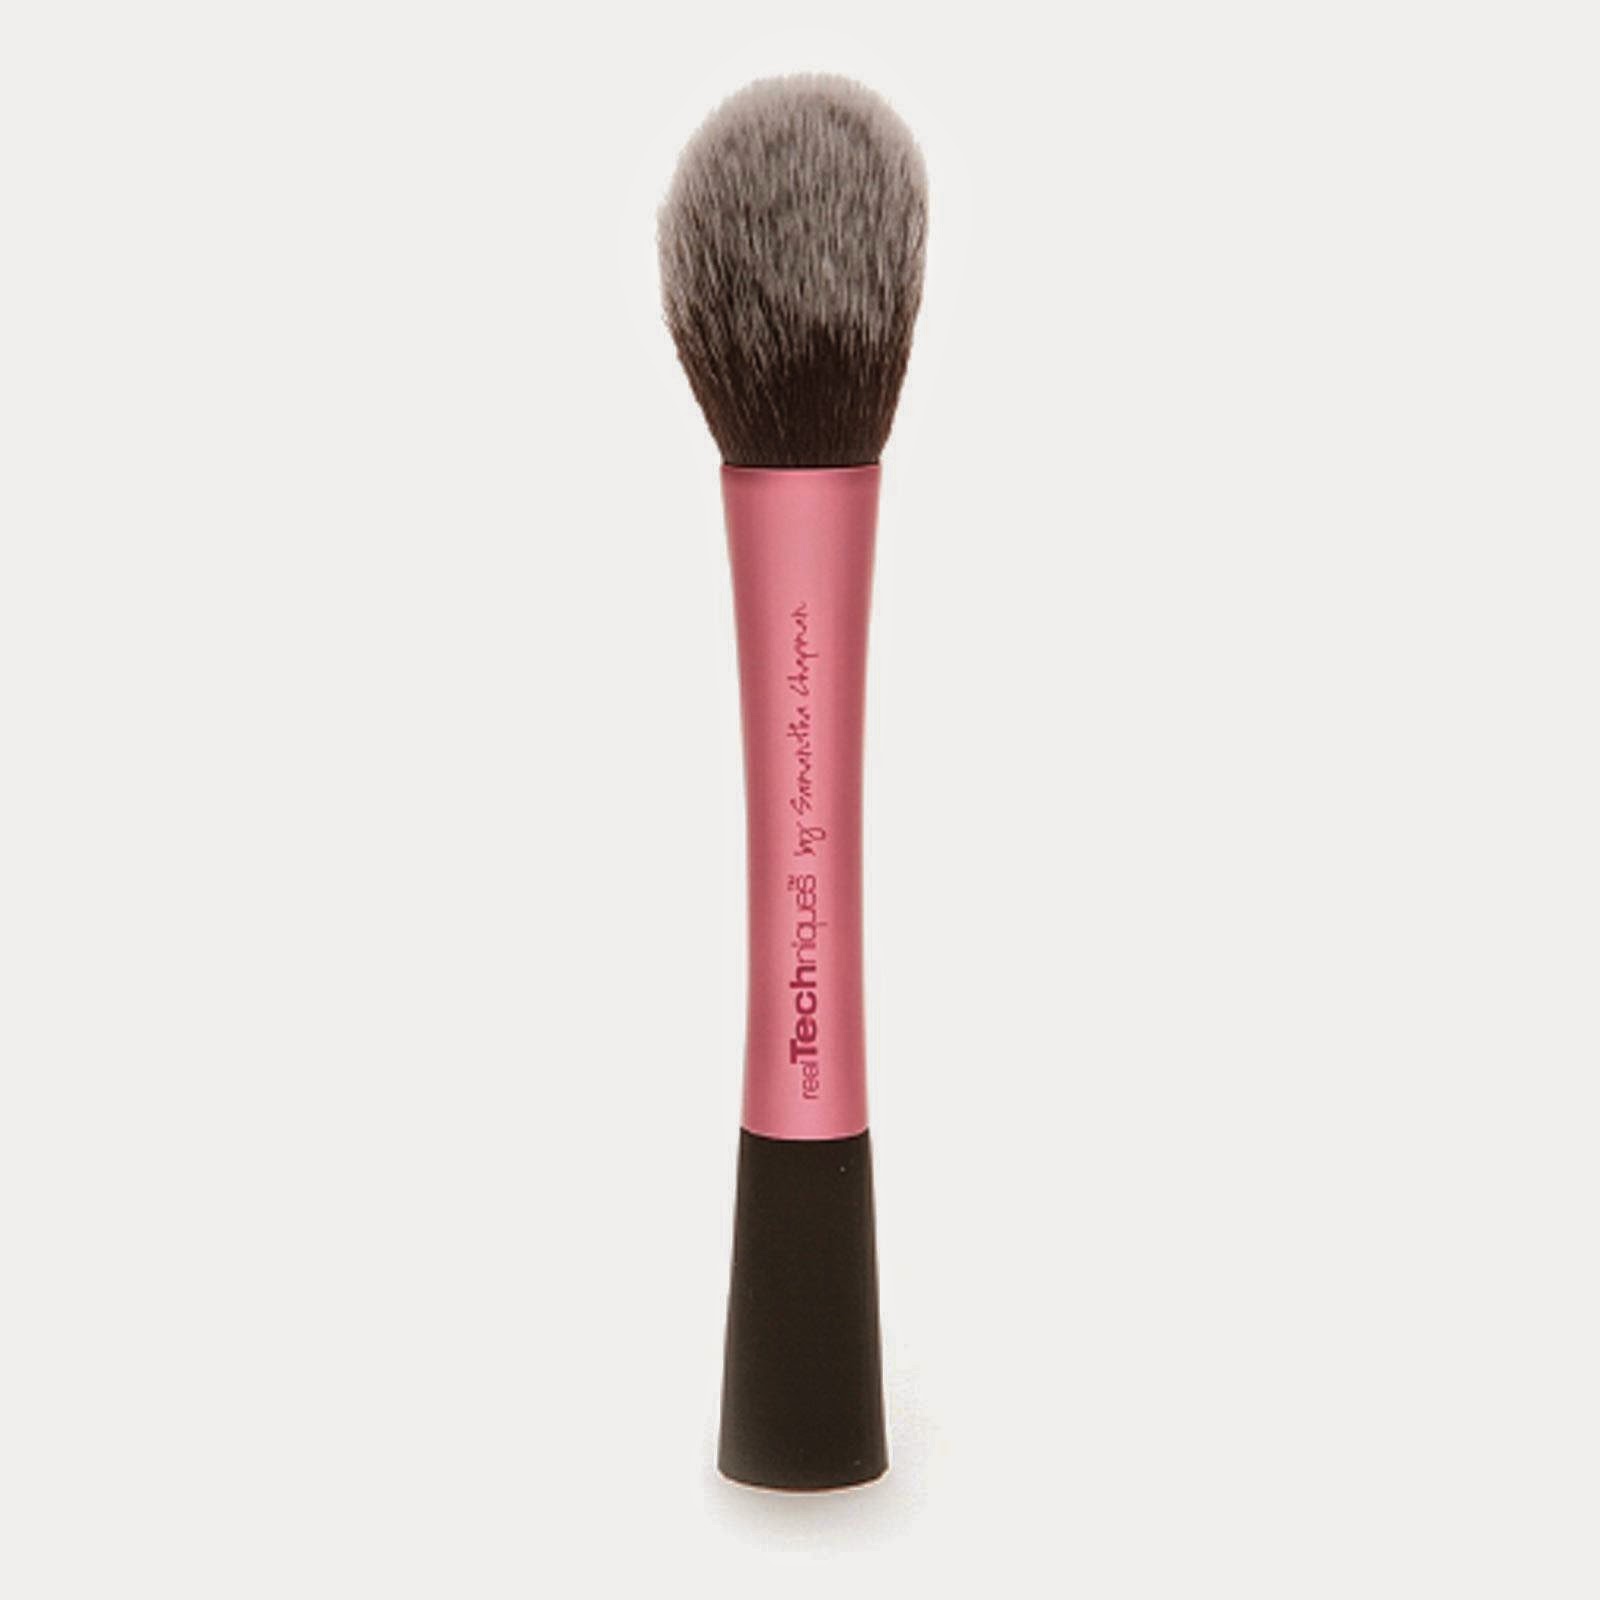
Blush brush

Silky touch blush


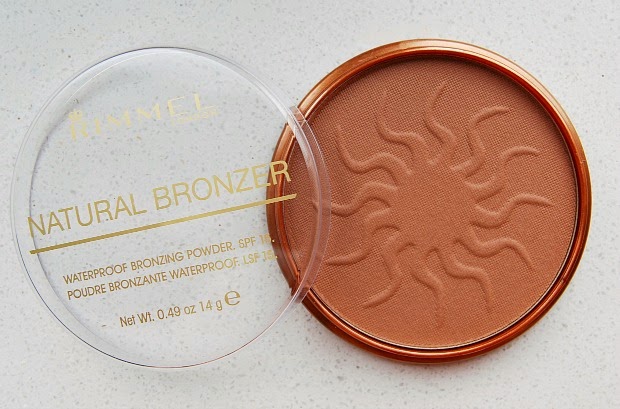
9.Contour: To contour I used the Rimmel - sun kissed natural bronzer in the shade 022. I applied this in the hollows of my cheeks, along my jawline and down either side of my nose using the real techniques duo fibre contour brush.
Duo fibre contour brush
Sun kissed natural bronzer


10.Highlight: To highlight I used the shade virgin from the Urban decay - naked 1 palette. I applied this above the apples of my cheeks, on my brow bone and down the bridge of my nose using a real techniques duo fibre eye brush.
Duo fibre eye brush

Naked 1 palette


11.Apply fake eyelashes: I used the Kiss -  fake eyelashes in 01 n
atural. These particular eyelashes look dramatic and really pull this whole look together.
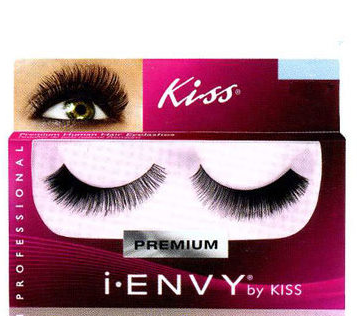
Fake eyelashes


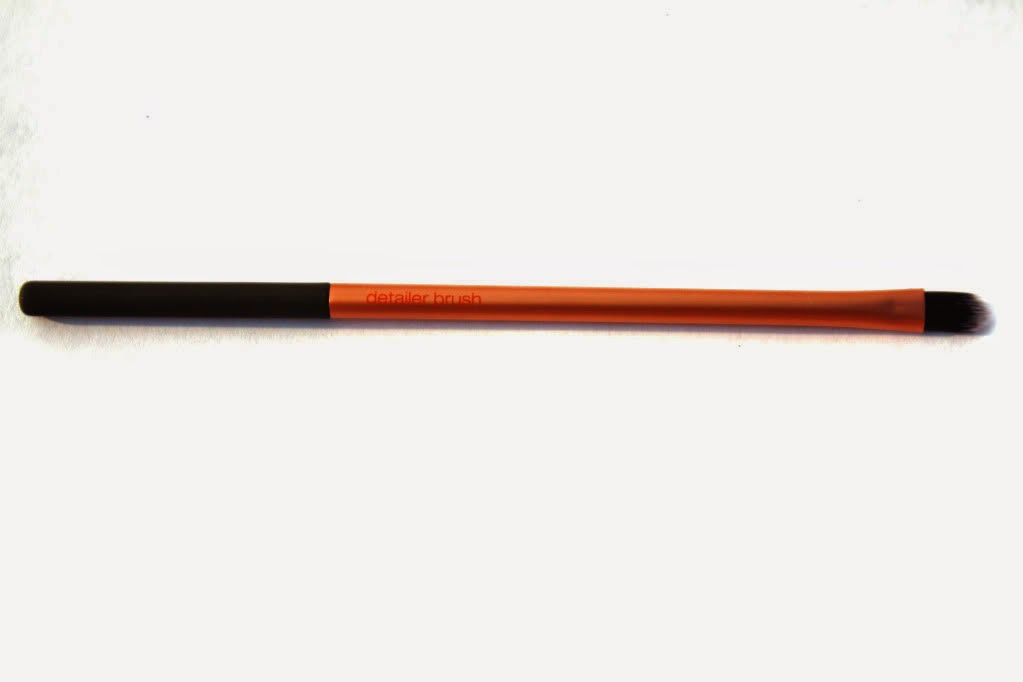
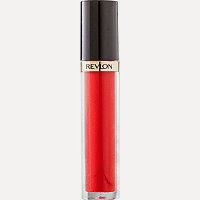
12.Lipstick: Finally this make-up look needs a dark berry lip but i wanted to co-ordinate the lip with something i had already used and so I came up with this idea. I first applied  the Revlon -lustrous lip gloss in the shade 240 fatal apple but any red/pink lip gloss would do. I then went over it with a real techniques detailer brush. Once you have transferred some gloss onto the brush you want to dip it in the deep purple eyeshadow you used earlier and outline your lips. Once you have lined your lips you can go ahead and apply the purple shadow-gloss all over your lips. Personally I think that this looks really, really cool.
Detailer brush
Lip gloss
Deep purple eyeshadow


Yayyyyyyyy! After completing all these steps you will have achieved your Spooky Halloween Make-up look.

Of course not everybody will use the same products as I do or have the same brushes so you can alternate them or change something if you don't have it or don't want to use my method!

Thank you so much for reading this blogpost and please comment letting me know what you think! Don't forget to subscribe by email along the right hand side of the page and I will be back tomorrow with a brand new Halloween blogpost.

Toodles - Andrea xo.


Where else to find me: Instagram; justablogx
                                    Twitter: AndreaMartin3
                                    Facebook: facebook.com/itisjustablog
                                    Youtube: https://www.youtube.com/channel/UCEFvXLpxp6sCKBmihy1AAfg