Hello Everybody!
If you have been following my blog recently you will know that I usually upload a post every Sunday but as it is the mid-term break and it's almost Halloween I have decided to upload every single day for the next 5 days using the theme of Halloween.
Day 1: Spooky Halloween Make-up!
Today I will be showing you how to achieve this make-up look in which you can recreate and use on Halloween night. Enjoy!
**BEFORE WE START I WOULD LIKE TO POINT OUT THAT I AM IN NO WAY A MAKE-UP ARTIST SO IF I DO SOMETHING THAT OFFENDS YOU OR IS NOT YOUR METHOD THAT IS OK BECAUSE WE ALL HAVE OUR OWN WAYS OF DOING THINGS!**
1. Apply primer: I used the Seventeen - photo flawless skin primer, paying special attention to the oilier areas of my face.
 |
| Photo flawless skin primer |
2.Apply foundation: I used a mixture of the Rimmel - 25 hour lasting nude foundation and the Rimmel - stay matte foundation both in the shade 100 ivory. I mixed these together using a real techniques pointed foundation brush and blended these in using a real techniques buffing brush.
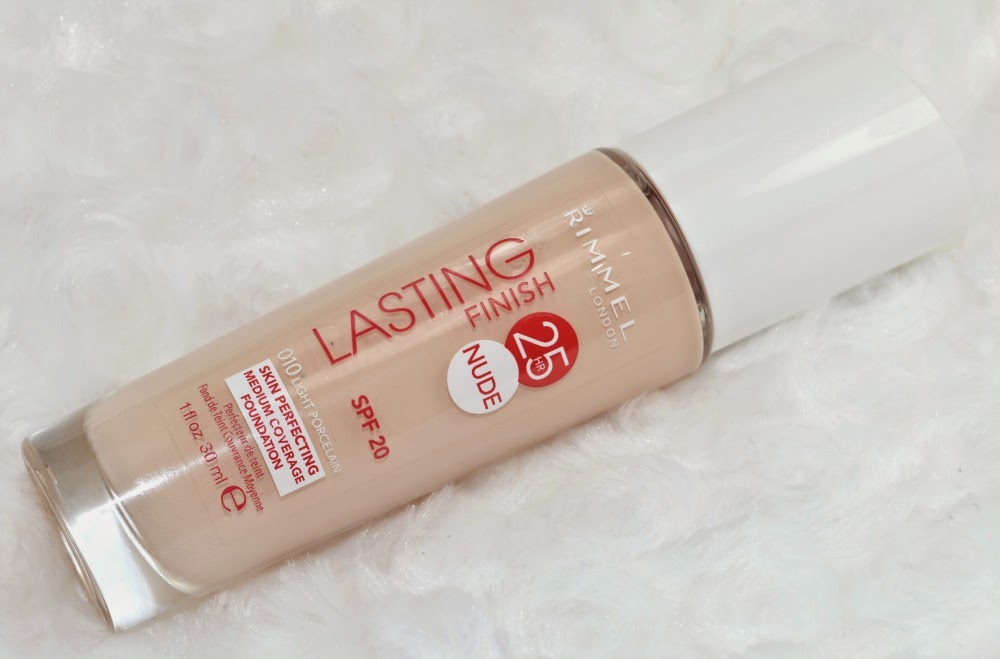 |
| 25 hour lasting nude foundation |
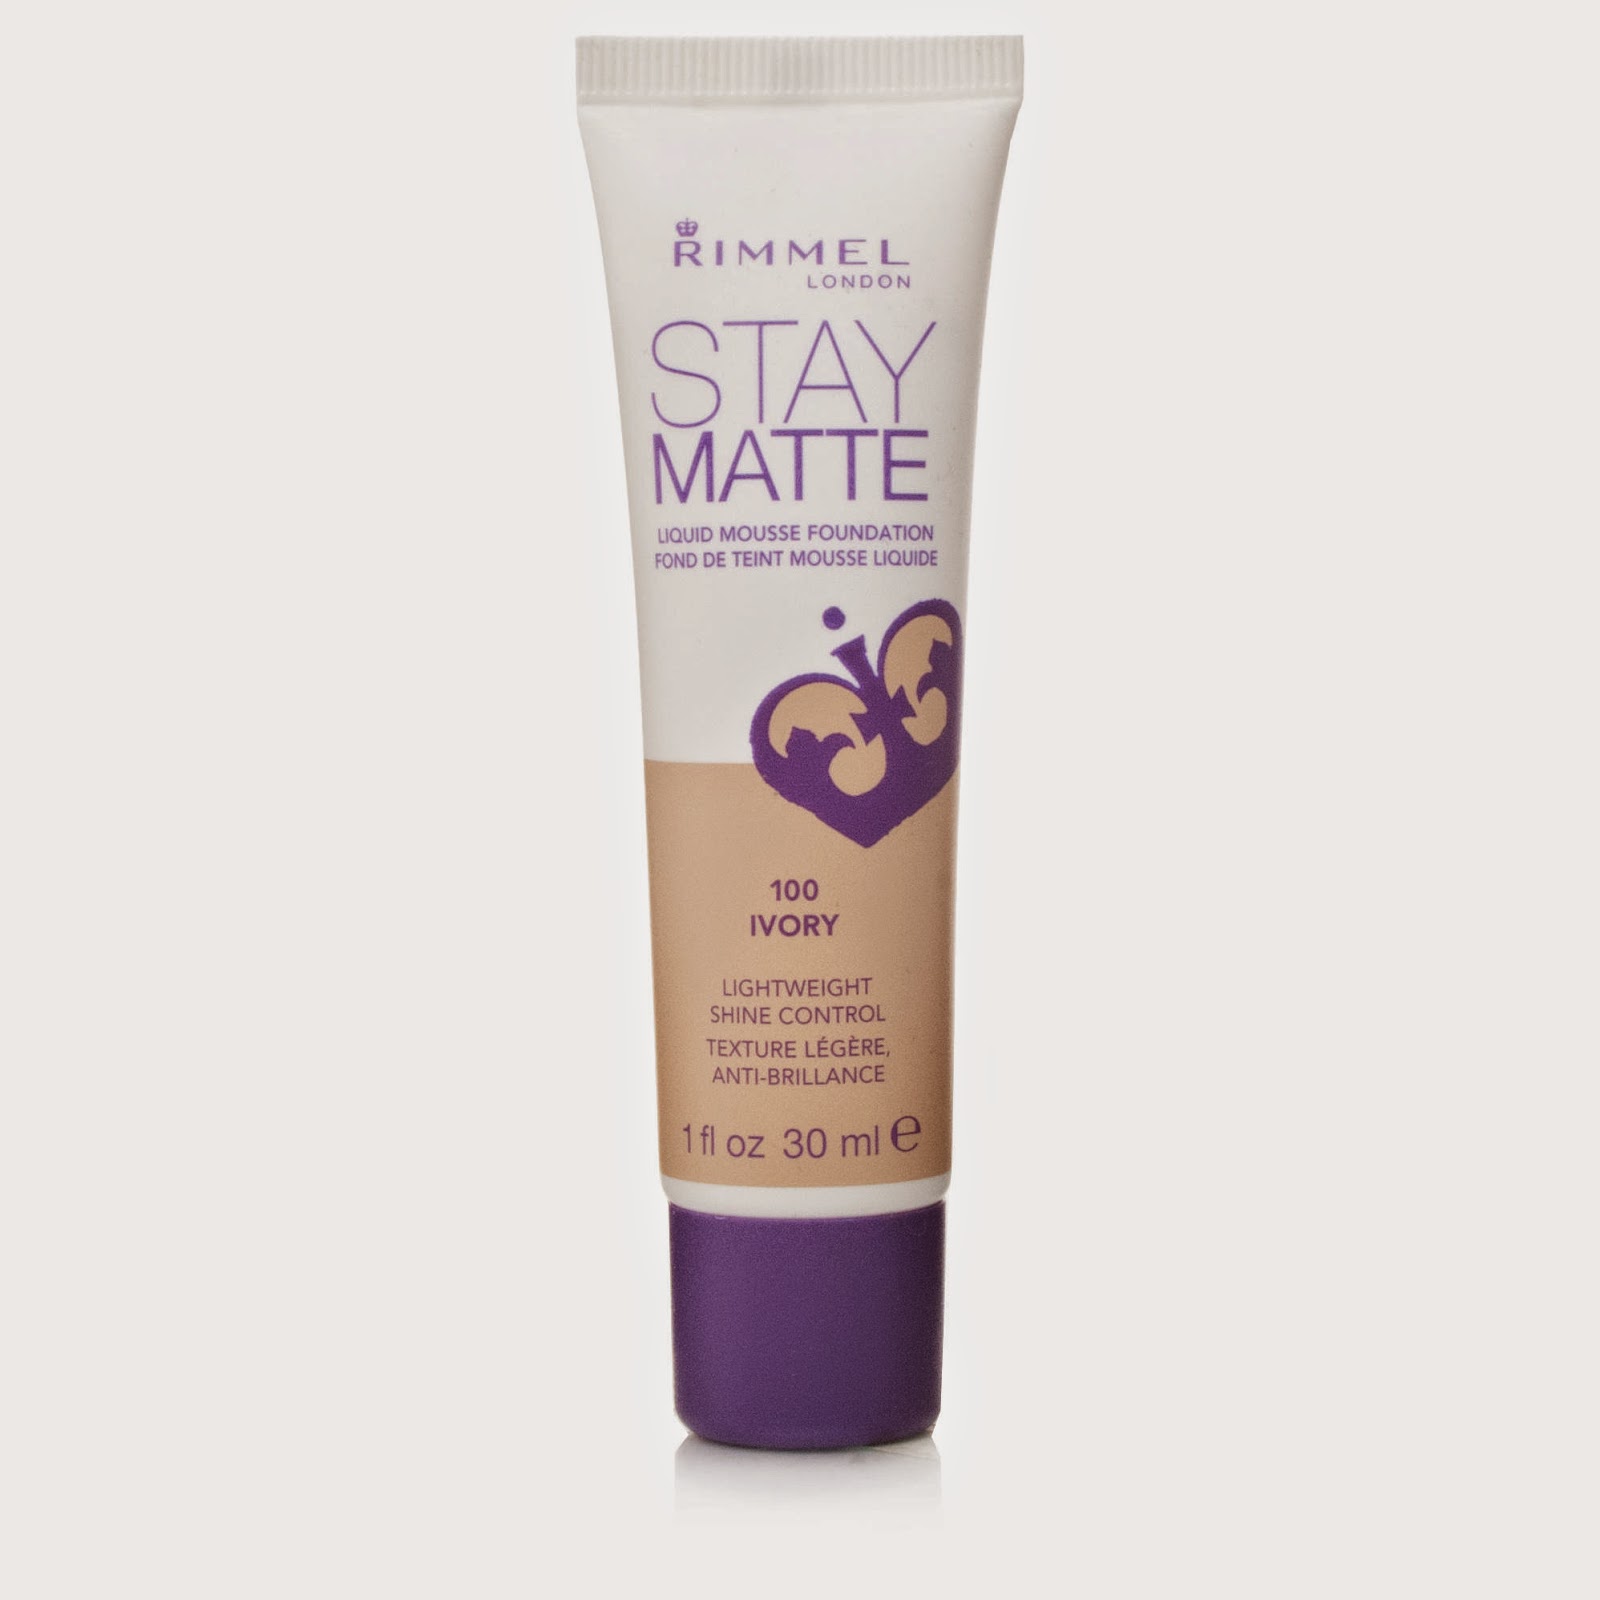 |
| Stay matte foundation |
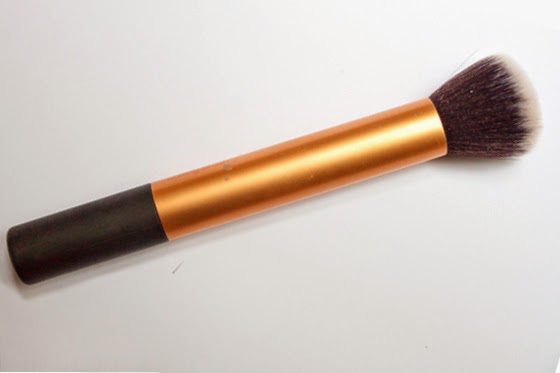 |
| Buffing brush |
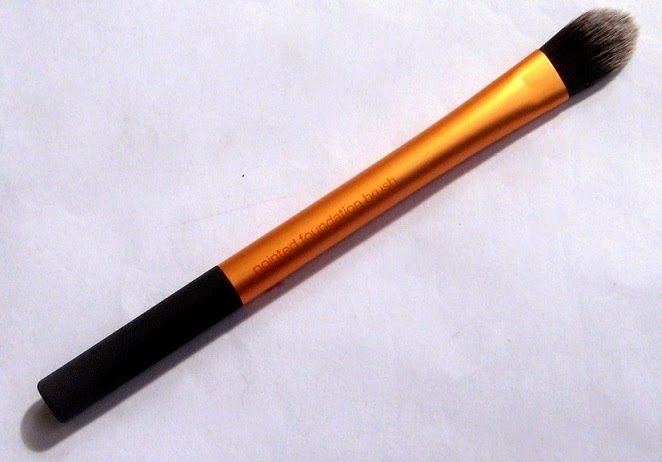 |
| Pointed foundation brush |
3.Apply concealer: I used the Rimmel - Wake me up concealer in the shade 100 ivory. I applied this under my eyes, around my nose and on any spots or blemishes that I had. I used the real techniques contour brush to blend it in under my eyes and a beauty blender to blend it in on my spots and blemishes.
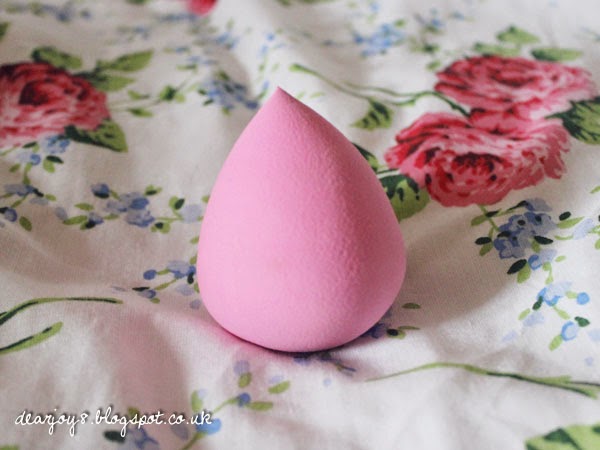 |
| Beauty blender |
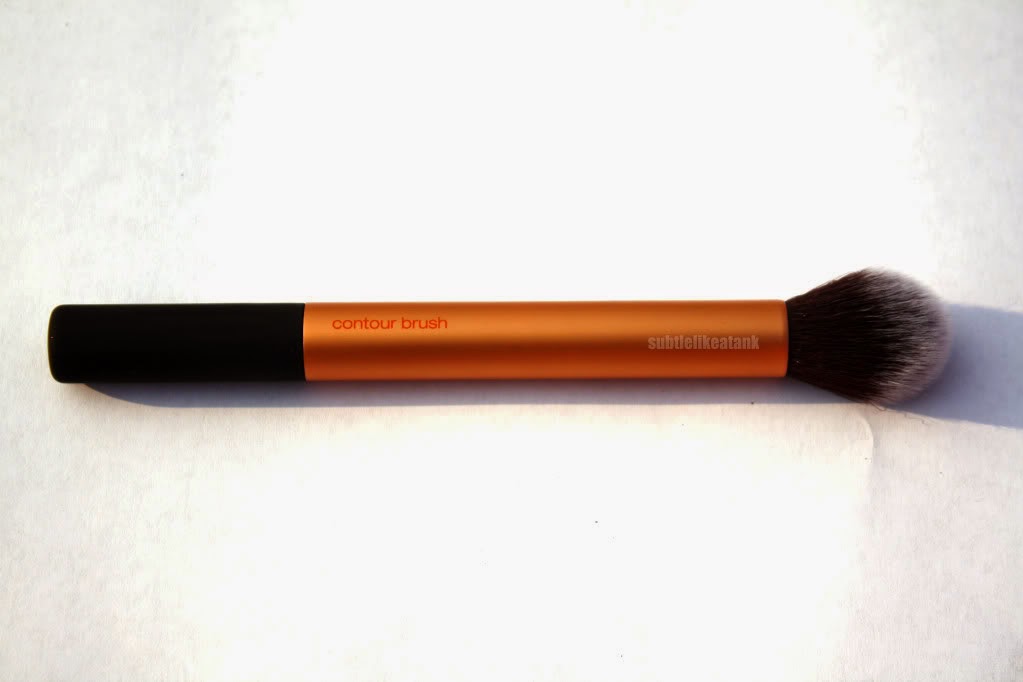 |
| Contour brush |
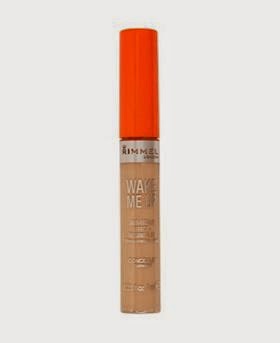 |
| Concealer |
4.Apply powder: I used the Miss Sporty - so matte perfect stay powder in the shade 01 light. I applied this using a real techniques duo fibre face brush and payed special attention to my oilier areas again.

<< So matte perfect powder >>
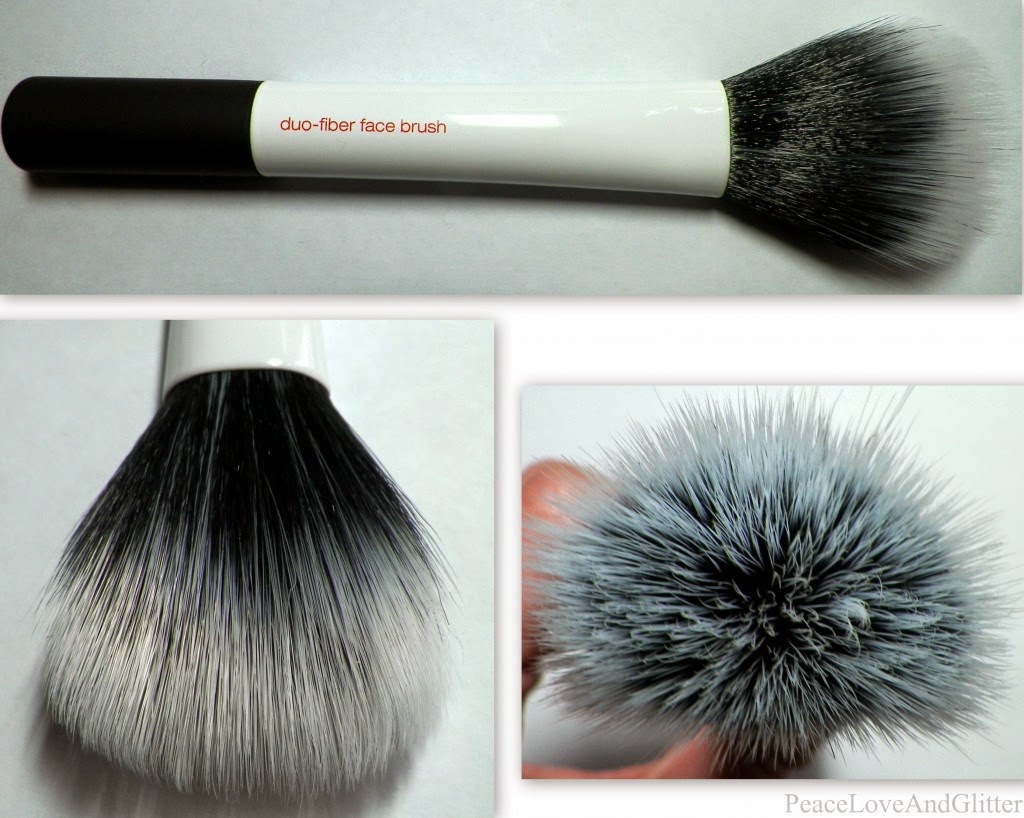 |
| Duo fibre face brush |
5.Eyebrows: I first brushed out my eyebrows using an eyebrow comb, I then filled them in using the Urban decay - naked 1 palette in the shade buck using a real techniques brow brush, and I finally set them in place using the Essence - lash and brow gel mascara.
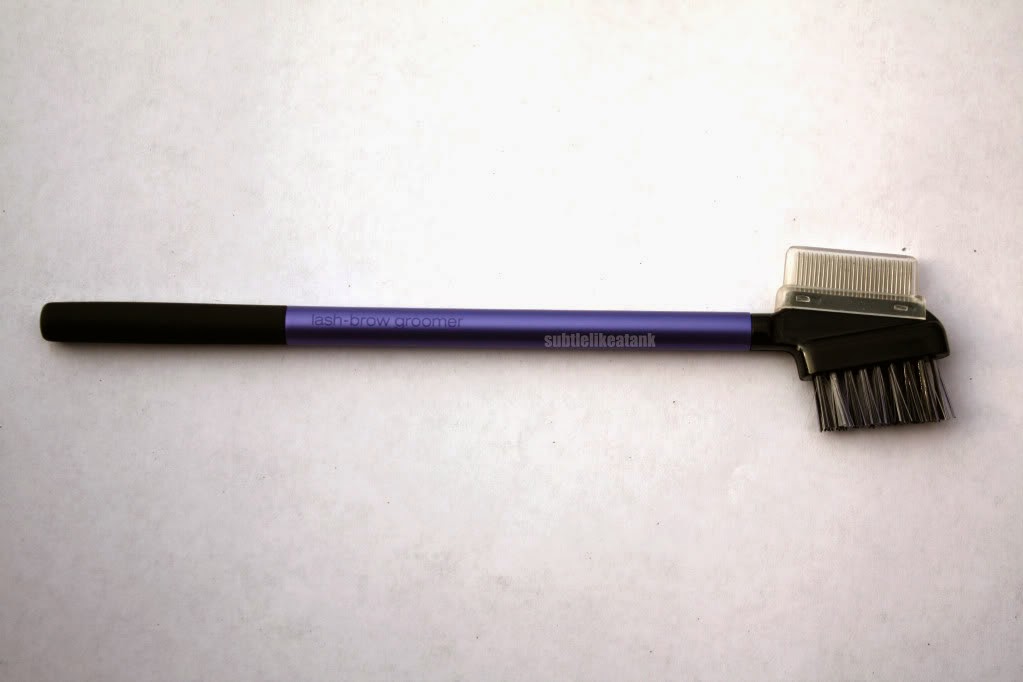 |
| Lash and brow comb |
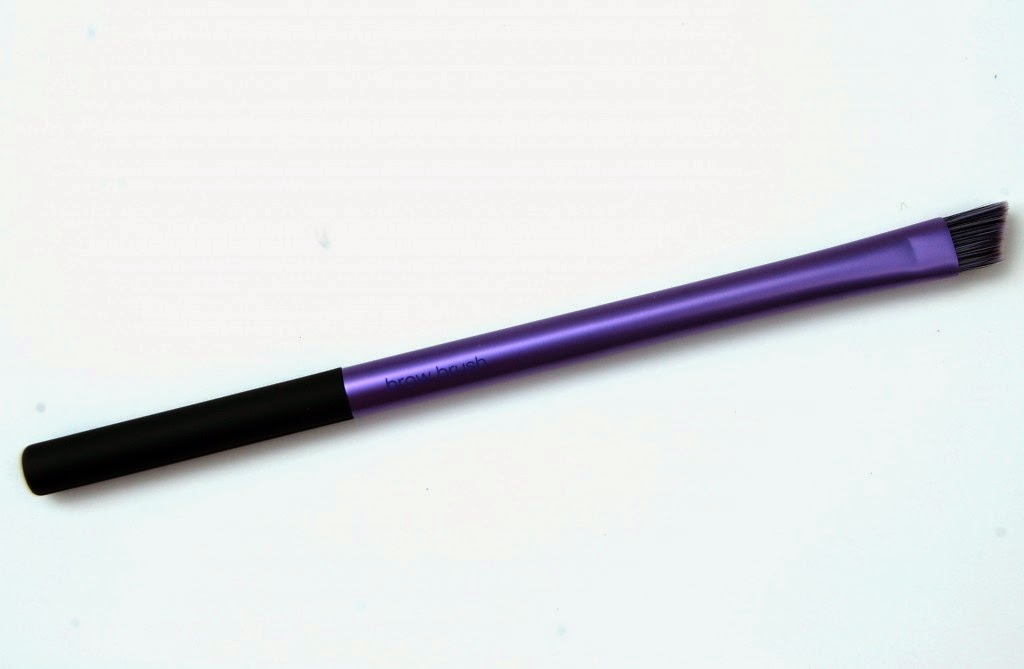 |
| Brow brush |
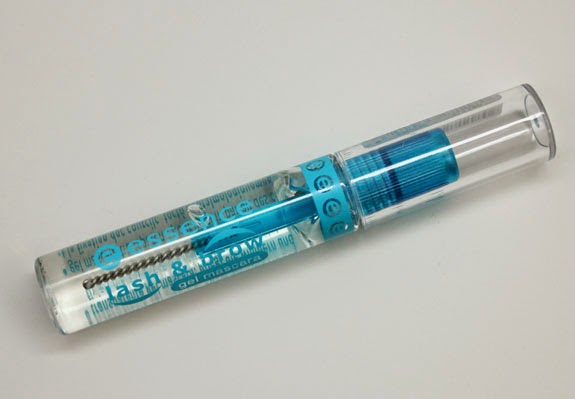 |
| Lash and brow gel mascara |
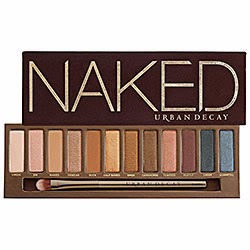 |
| Naked 1 palette |
6.Eyeshadow: 1) Apply the Seventeen - metallic cream all over the lid of the eye and up into the crease using a real techniques base shadow brush.
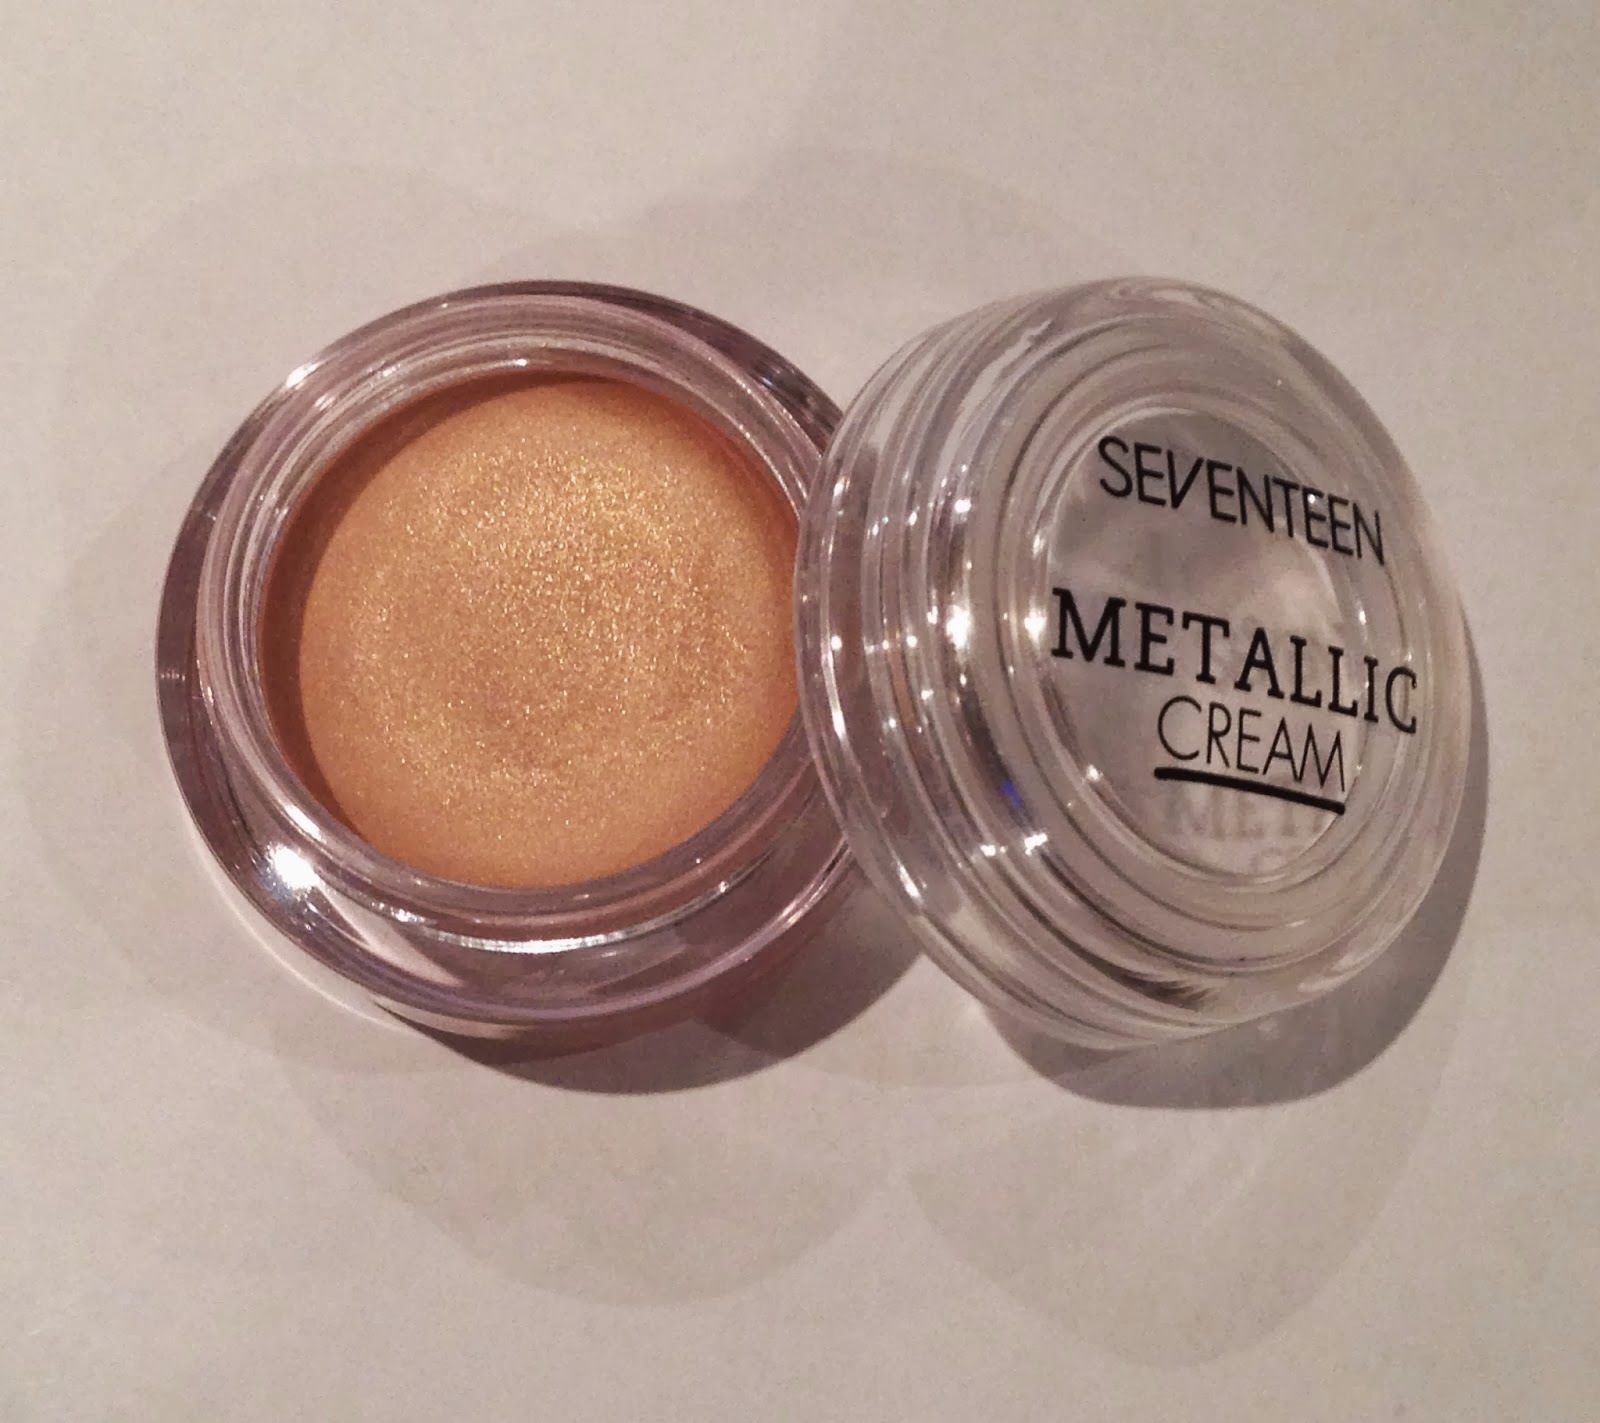 |
| Metallic cream |
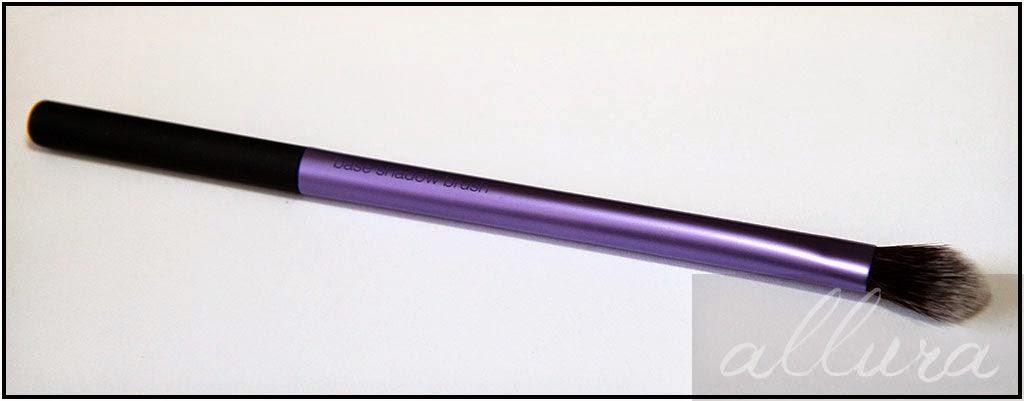 |
| Base shadow brush |
2) Apply the shade Hustle from the Urban decay - naked 1 palette all over the lid and slightly up into the crease of the eye using the real techniques base shadow brush.
 |
| Naked 1 palette |
 |
| Base shadow brush |
3) Apply any
deep purple eyeshadow that you have all over the lid and up into the crease of the eye using the
real techniques base shadow brush. I used the
deep purple from my
Fuschia Make-up palette which look alot like
Mac - nocturnelle eyeshadow.
 |
| Base shadow brush |
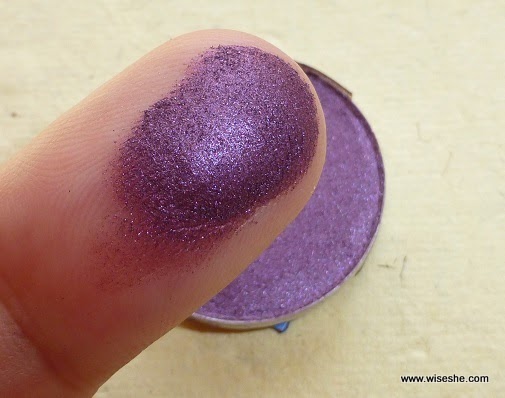 |
| Nocturnelle |
4) The next step is to apply the shade creep from the Urban Decay - Naked 1 palette all over the lid but making sure you don't go up into the crease because that will completely ruin the whole make-up look. I did this using a real techniques deluxe crease brush.
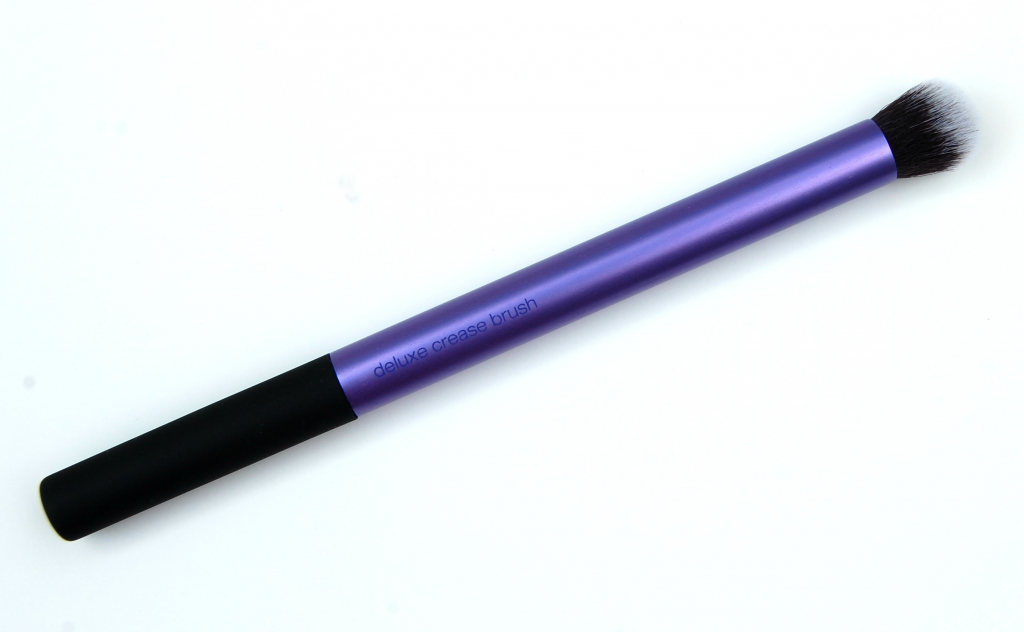 |
| Deluxe crease brush |
 |
| Naked 1 palette |
5) Next you take the deep purple eyeshadow again and apply it in the crease just to deepen the colour using the real techniques base shadow brush.
 |
| Base shadow |
 |
Deep purple eyeshadow
|
6)Finally I put a glittery black shade from my Fuschia make-up palette onto the outer corner of my eyelid's and this completed my eyeshadow. I put this on using a real techniques deluxe crease brush and the glittery black eyeshadow that I used is very similar to Mac - blacktied eyeshadow.
 |
| Deluxe crease brush |
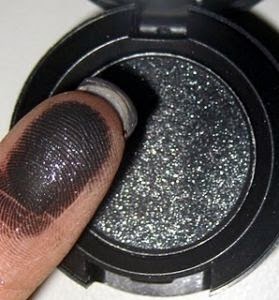 |
| Blacktied eyeshadow |
7.Apply eyeliner: For this look you will need a black pencil eyeliner. I used the Rimmel - soft kohl kajal eye pencil in the shade jetblack. For this look you will need to apply a line along your upper lash line all the way to the inner corner and all the way to the outer corner but make sure that you don't flick it at the end. You then want to apply 1-2 layers of eyeliner along your lower waterline ensuring you connect the inner corner of the top line and the outer corner of the top line. This will give the eyes a spooky and dark effect.
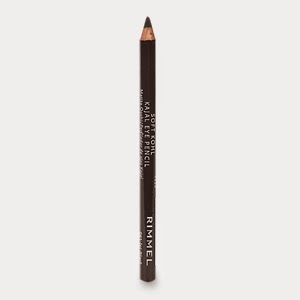 |
| Soft kohl kajal eye pencil |
8.Apply blusher: I used the Essence - silky touch blush in the shade 30 secret it girl. I used this blusher because it is a nice peachy-pink colour which works really well with this look. I applied the blusher on the apples of my cheeks, using the real techniques blusher brush.
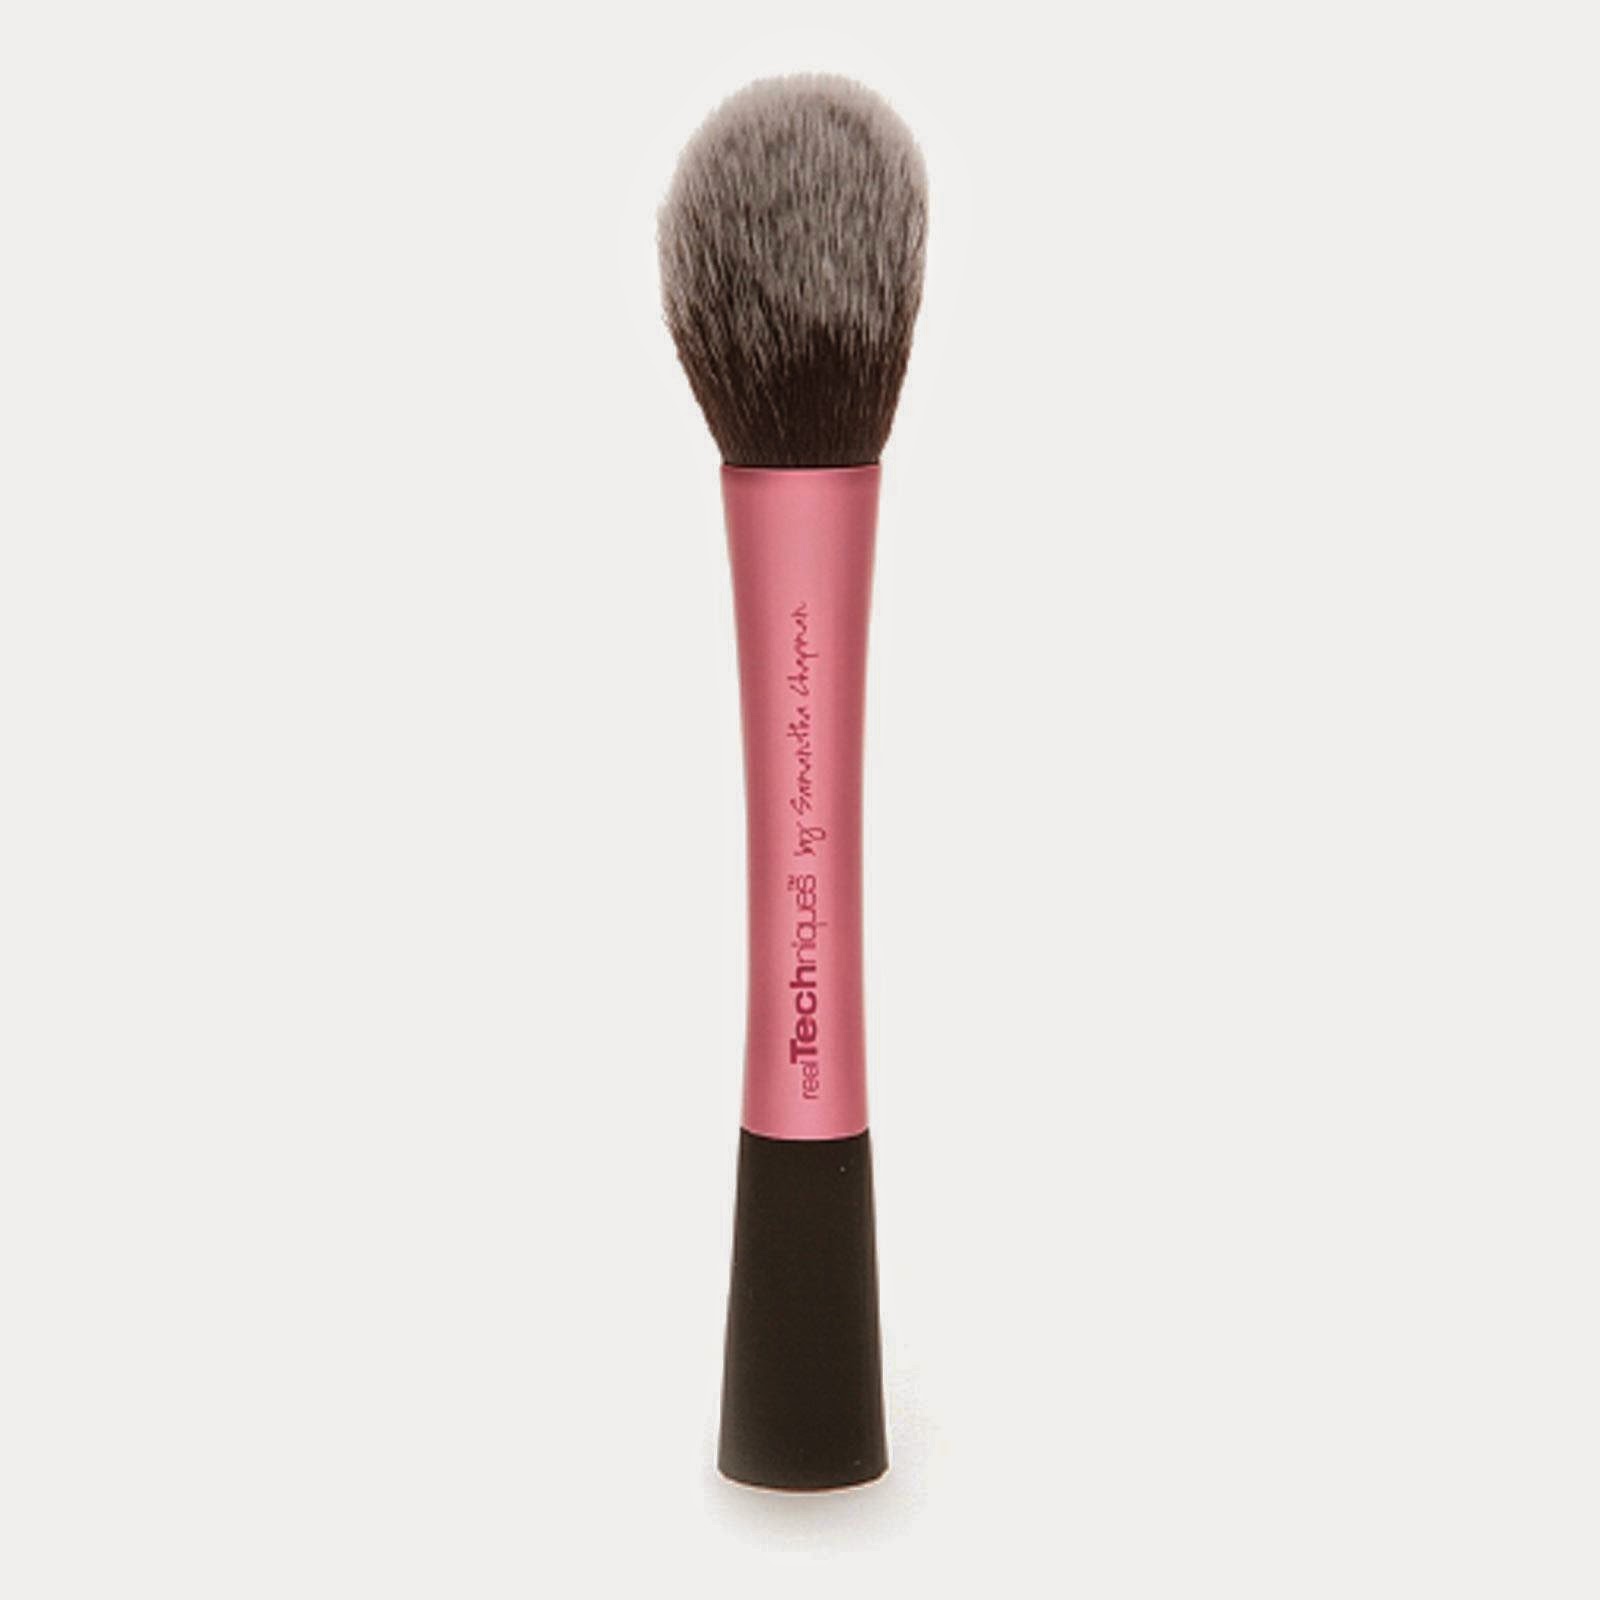 |
| Blush brush |
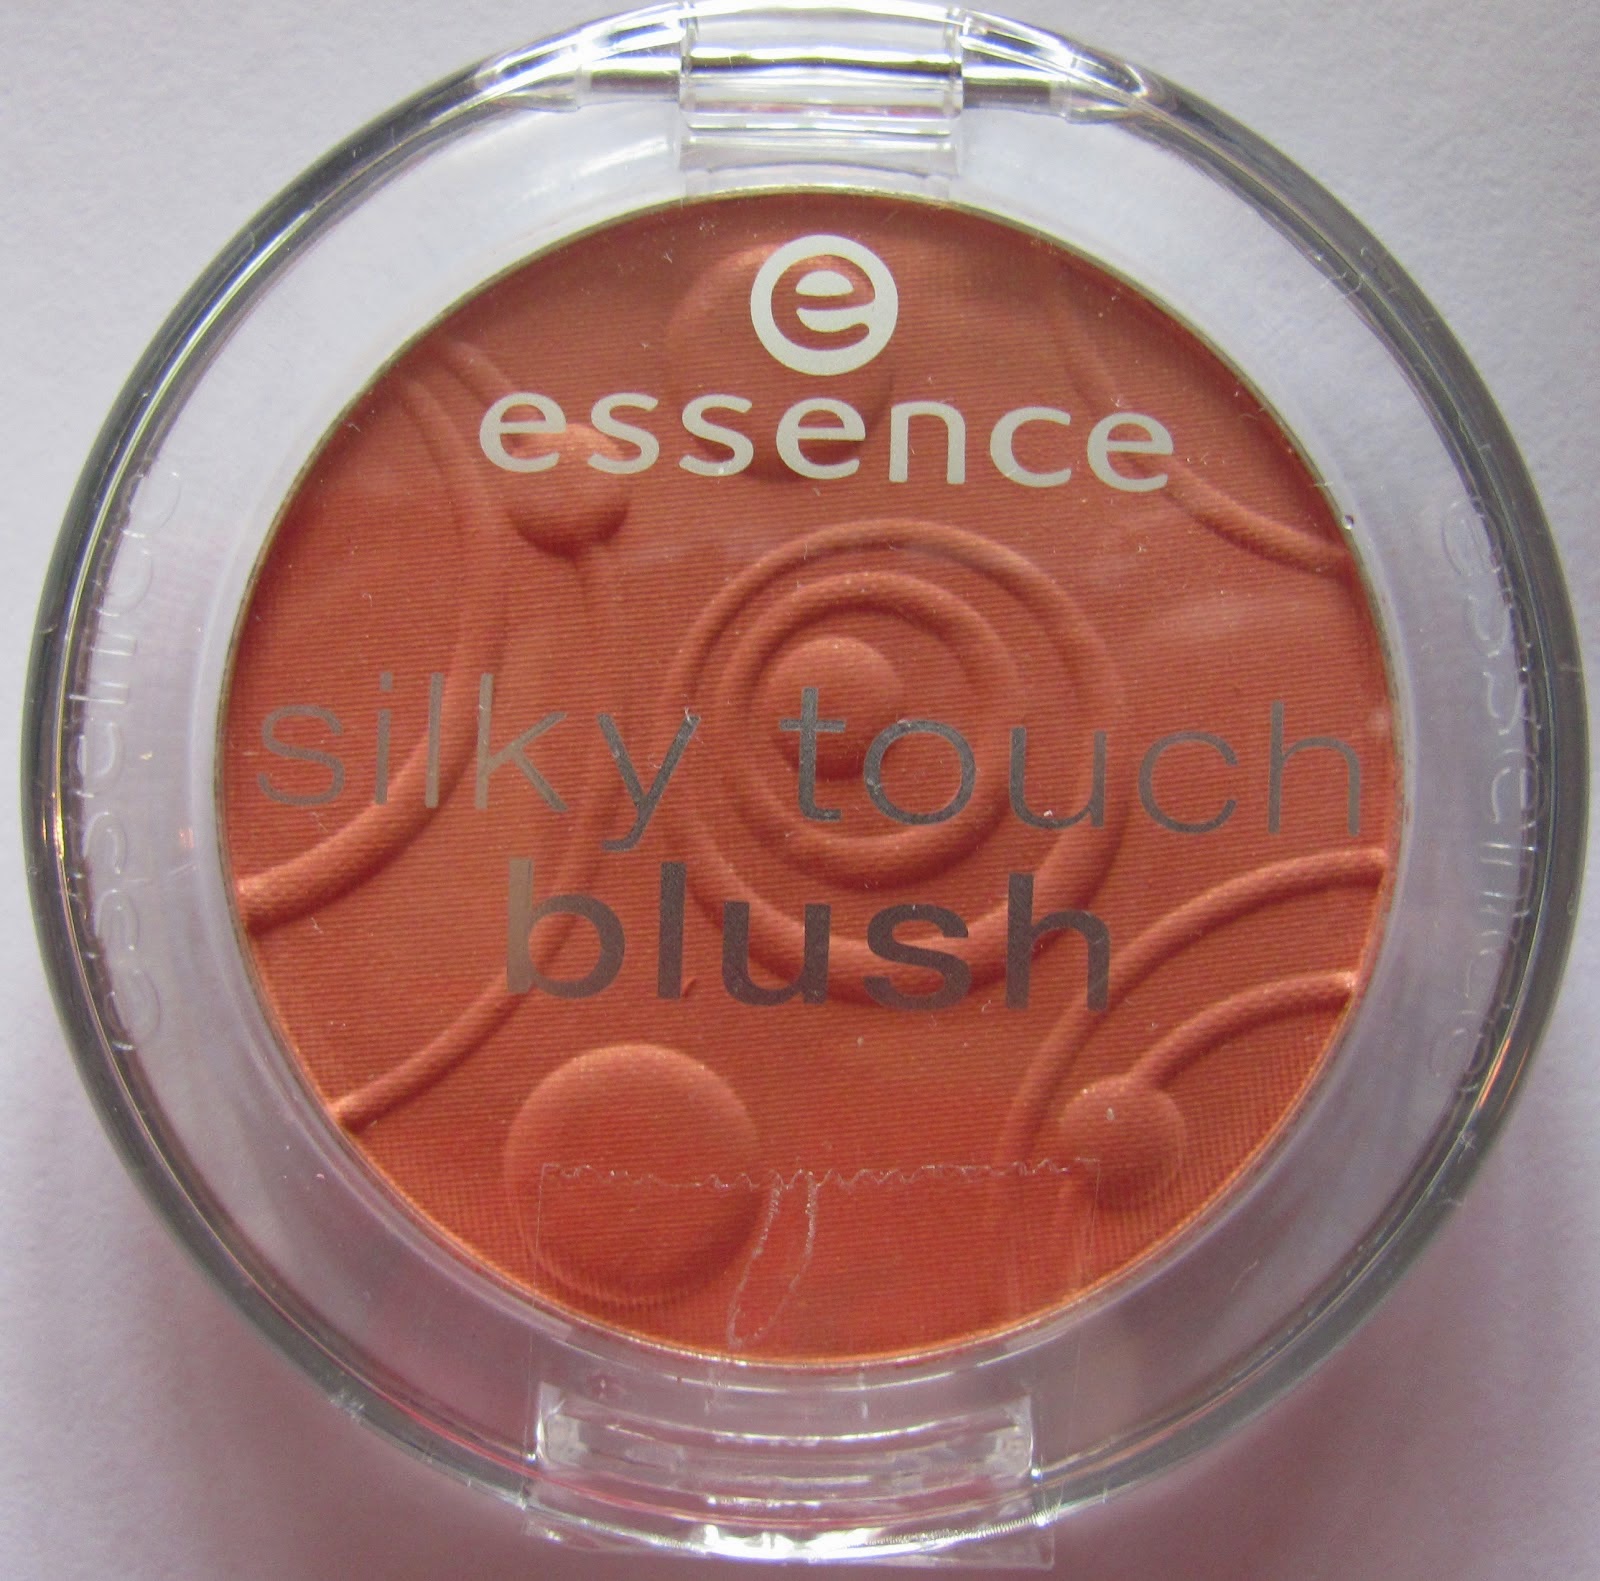 |
| Silky touch blush |
9.Contour: To contour I used the Rimmel - sun kissed natural bronzer in the shade 022. I applied this in the hollows of my cheeks, along my jawline and down either side of my nose using the real techniques duo fibre contour brush.
 |
| Duo fibre contour brush |
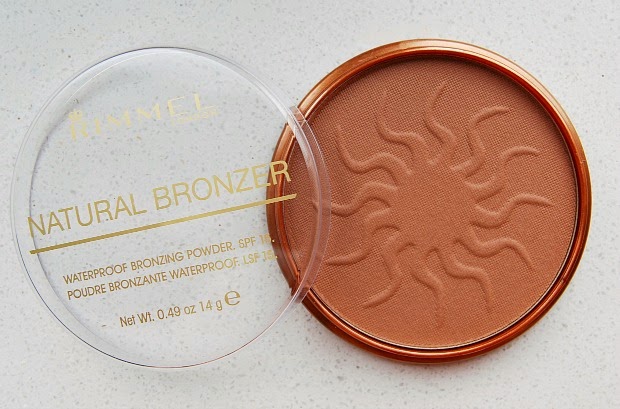 |
| Sun kissed natural bronzer |
10.Highlight: To highlight I used the shade virgin from the Urban decay - naked 1 palette. I applied this above the apples of my cheeks, on my brow bone and down the bridge of my nose using a real techniques duo fibre eye brush.
 |
| Duo fibre eye brush |
 |
| Naked 1 palette |
11.Apply fake eyelashes: I used the Kiss - fake eyelashes in 01 n
atural. These particular eyelashes look dramatic and really pull this whole look together.
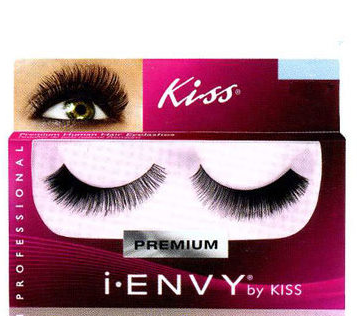 |
Fake eyelashes
12.Lipstick: Finally this make-up look needs a dark berry lip but i wanted to co-ordinate the lip with something i had already used and so I came up with this idea. I first applied the Revlon -lustrous lip gloss in the shade 240 fatal apple but any red/pink lip gloss would do. I then went over it with a real techniques detailer brush. Once you have transferred some gloss onto the brush you want to dip it in the deep purple eyeshadow you used earlier and outline your lips. Once you have lined your lips you can go ahead and apply the purple shadow-gloss all over your lips. Personally I think that this looks really, really cool. |
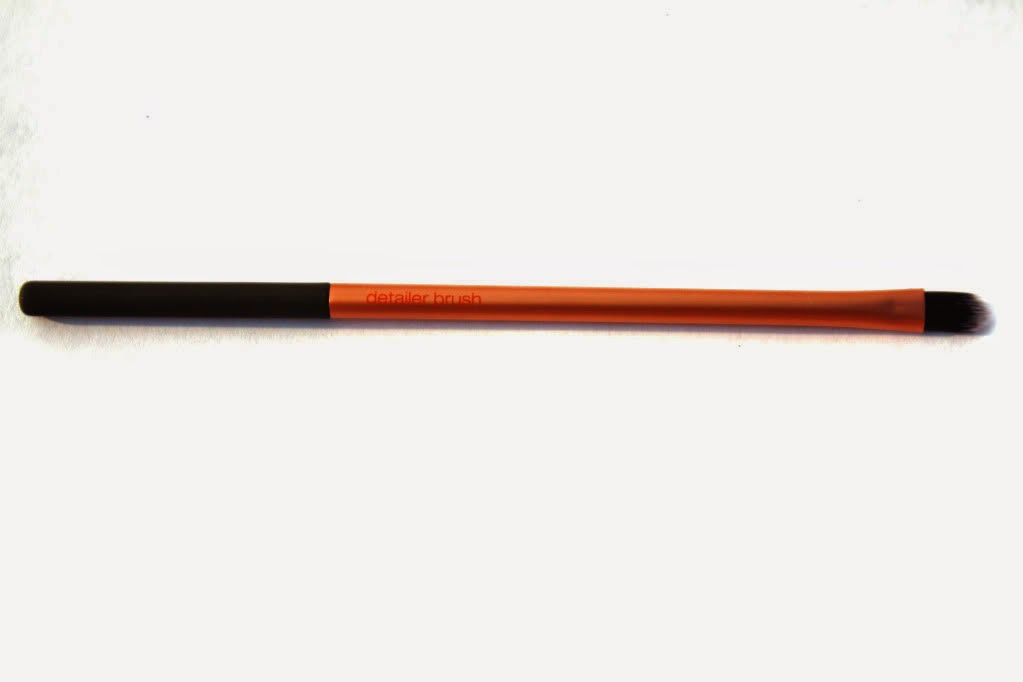 |
| Detailer brush |
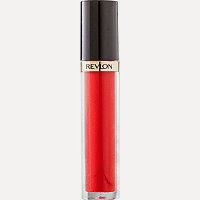 |
| Lip gloss |
 |
| Deep purple eyeshadow |
Yayyyyyyyy! After completing all these steps you will have achieved your Spooky Halloween Make-up look.
Of course not everybody will use the same products as I do or have the same brushes so you can alternate them or change something if you don't have it or don't want to use my method!
Thank you so much for reading this blogpost and please comment letting me know what you think! Don't forget to subscribe by email along the right hand side of the page and I will be back tomorrow with a brand new Halloween blogpost.
Toodles - Andrea xo.
Where else to find me: Instagram; justablogx
Twitter: AndreaMartin3


